Note: Be sure to check out the exterior adhesives Q&A section at the end of this column. It features lots of questions asked by real people looking for real answers.
Exterior adhesives for gluing wood (and other things) are different than what makes sense for indoor applications. The challenge of keeping things glued together in potentially wet, outdoor conditions is entirely different than working with interior projects that never see moisture, UV rays or wide temperature swings. If you want outdoor projects to endure, you need more than ordinary glue.
While exterior adhesives are getting better quickly, you’ve still got to understand where each technology works best and why. Wood is the most commonly glued exterior material and you’ve got four main choices to make it stick: cross-linking PVA glue (so-called “weatherproof” type I, type II and type III carpenter’s glues), polyurethane glues, epoxies and construction adhesives.
Not all of these are truly waterproof glues, as you’ll see.
Cross-linking PVA glue
Of all the options, cross-linking PVA is the cheapest and easiest exterior adhesive to use. I like this option best for general-purpose outdoor gluing, and though these glues are not waterproof enough for continuous submersion, they work fine for any outdoor application.
Cross-linking PVA looks just like regular wood glue, and even cleans up with water before it dries. After hardening, however, cross-linking PVA is more or less moisture-proof because of the transformation of the polymers that occur while drying.
Cross-linking PVA won’t hold up indefinitely in submerged situations, but it will keep things together during extended damp weather that would turn ordinary white, yellow or brown carpenter’s glues into mush in a few days.
Weatherproof PVA glues are rated by the American National Standards Institute (ANSI), and glues that meet their “type II” rating offer acceptable performance outdoors. Type I PVA stays hard more reliably after extended exposure to water than regular wood glue. If a PVA glue doesn’t have either of these ratings printed on the bottle, or the word “weatherproof” isn’t mentioned, it’s probably not for use outdoors.
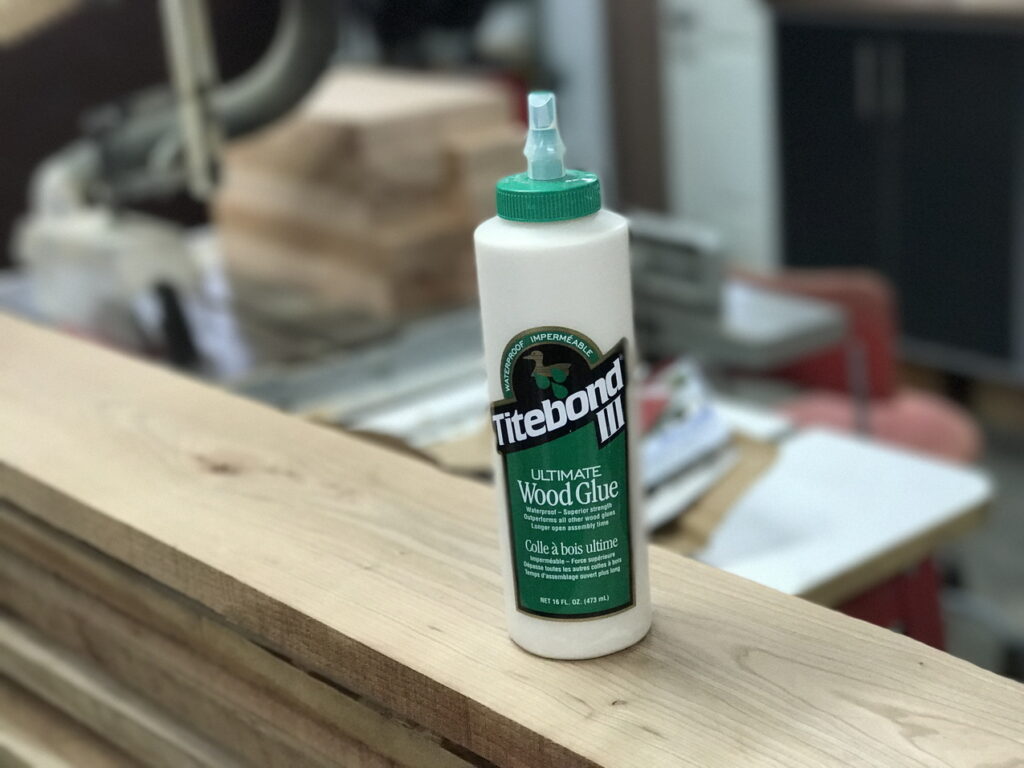
These days, type III PVA glues are available and even better. My current favourite for wood is Franklin’s Titebond III. This stuff is strong, it’s easy to work with, easy to clean up and amazingly waterproof when fully dry.
Cross-linking PVA pros:
- Inexpensive
- Non-toxic
- No odor
- Can be applied by roller
- Easy clean-up when wet
Cross-linking PVA cons:
- Some brands go gummy in the bottle after 12-24 months
- Requires temperatures above 10 C while drying for full joint strength
- Not usually suitable for submerged applications
- More expensive than ordinary PVA
Uses:
- Outdoor furniture and wooden architectural details
- Indoor woodwork that could be exposed to water accidentally
Polyurethane glue
Polyurethane glue is waterproof enough to use in all exterior adhesive applications above the waterline. The beauty of polyurethane is that it can be used in situations where one or both surfaces are made of plastic or metal, in addition to wood.
Unlike PVAs that are best for porous materials, polyurethane glue hardens by chemical reaction with moisture; no air necessary. It’s also easily sand-able and takes solvent-based stains reasonably well.
On the downside, polyurethane is considerably more expensive than PVA (a two-ounce bottle of poly costs as much as an eight-ounce bottle of PVA), and polyurethane is messier. You need to remove stray glue with acetone when it’s wet (water won’t work) and polyurethane expands as it cures, sometimes leaving behind large berms of hardened, foamy squeeze-out.
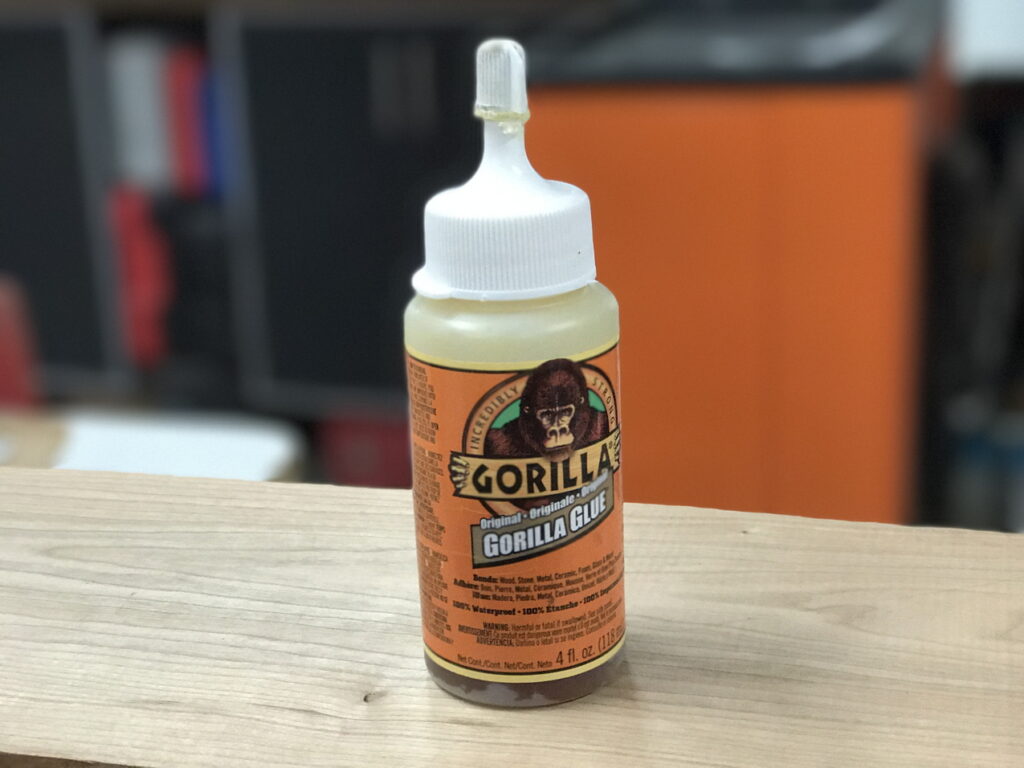
Polyurethane glue also hardens in the bottle after six to 18 months, so the shelf life is fairly short. Gorilla Glue was the first mainstream polyurethane exterior adhesive to hit the market years ago, but I’ve never noticed that any brand is better than another. I’ve probably used all of them.
Polyurethane glue pros:
- Strong
- Bonds non-porous and porous materials
- Needs no air to cure
Polyurethane glue cons:
- Expensive
- Requires small amounts of moisture to cure
- Potentially messy
- Hardens in bottle over time
Uses:
- Outdoor woodworking projects, especially those bonding wood with metal or plastic
Epoxy glue
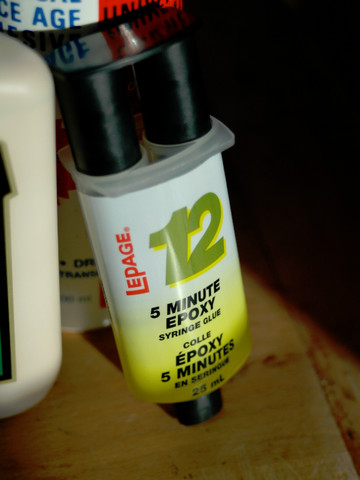
Epoxy is more than just fast-hardening goop in tiny tubes. Industrial-grade epoxies come in various liquid formulations, some for use in unusually cold or wet situations. Some marine-grade versions are rated for continuous exposure below the water line and will even harden under water.
Epoxies like these are one of the only truly waterproof glues around, and really go beyond the requirements of exterior adhesives. Downside? Relatively high cost and messy working regime are a case in point.
Two liquids are mixed together, then left to sit undisturbed for a few minutes before the adhesive is spread on parts and clamped up. The long open time of some slow-cure epoxies allow parts to be re-positioned and clamped for up to 12 hours after mixing.
Epoxy pros:
- Some formulations are rated for use below the water line
- Forms very strong bond
- Cures in a wide variety of conditions
- Bonds porous and non-porous materials
Epoxy cons:
- Expensive – 12 ounces costs $20 to $30
- Difficult clean-up
- Requires mixing of two parts
Uses:
- Marine applications
- Gluing jobs in cold and wet conditions
Construction glues
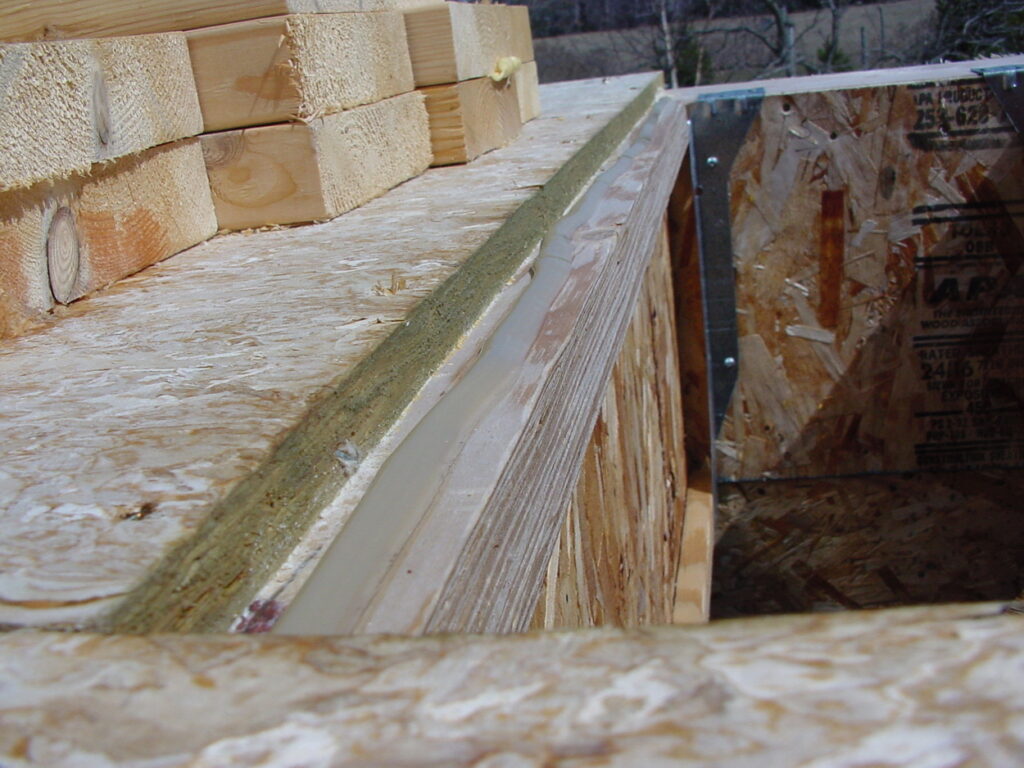
Construction adhesives have done more than anything else to make modern houses solid and squeak-free, but they need to be used properly to perform to their potential. When securing subfloors, for instance, you’ve got to screw down each sheet while the glue is still soft, not after flopping down all the sheets that cover the floor (however more efficient this might be).
Also, when conditions are wet on building sites, polyurethane construction adhesives work best. Since the chemistry behind these formulations requires small amounts of water to harden, damp joists and plywood are no problem at all.
Round up a cordless caulking gun to save your hand muscles and speed up application. The subfloor you see above was glued down with polyurethane construction adhesive in winter. I used a brand called PL Premium. It’s my favourite by far — way better than any other construction adhesive I’ve used.
Construction adhesive pros:
- Thick, non-running consistency for vertical and horizontal applications
- Packaged in caulking tubes for rapid application with cordless caulking gun
Construction adhesive cons:
- Product stiffens up during cold weather
- Some formulations harden in tubes or damaged by freezing
Uses:
- Subfloor reinforcement
- Application of rigid foam insulation
- General construction applications
Polyurethane caulking: The non-glue glue
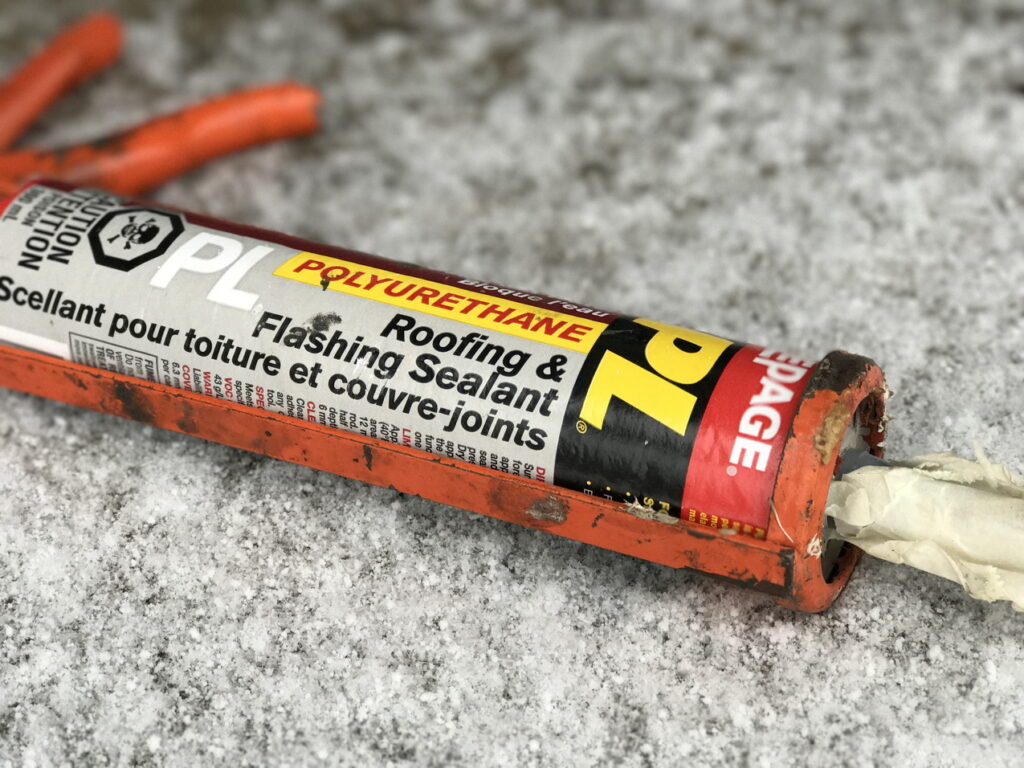
Although it’s not sold as an adhesive, polyurethane caulking and sealants are some of the best glues you can use to secure non-porous materials in exterior applications. It’s even better than construction adhesives for gluing plastics and sheet metal parts because it’s more squishy, allowing a closer bond between neighbouring components.
Here’s a little trick: Polyurethane caulking or sealant is particularly good for joining seams in aluminum fascia. It eliminates the need for most face nails, creating a cleaner appearance with less chance of buckling and waviness from heat expansion.
For some reason, polyurethane caulking has been getting less common on store shelves since about 2012, but it’s still available and still worth finding. (It’s also available on Amazon.)
Exterior adhesives Q&A
Glue for outdoor crafts
Q: What glue is best for making outdoor model houses and fairy gardens? I mostly work with natural materials such as wood, sticks, toothpicks — tiny stuff like that. I’ve been using a small hot melt glue gun and love working with it, but the projects don’t hold together long term.
A: That sounds like an interesting project. I think you’ll find Titebond III works very well. It looks just like regular wood glue, but it’s very resistant to water. The only challenge might be the need to hold the parts for 30 minutes or so while this glue grabs.
Hot melt is more or less instant, but any liquid glue like Titebond III is not. You might consider a strategy of applying the Titebond III to part of the joint, but also using a small blob of hot melt to one side just to hold the parts together while the Titebond III dries.
Gluing wood veneer to a door
Q: How can I fasten wood veneer to my metal garage door? I live in Palm Desert, Calif., and the temps get very hot.
A: I can’t think of any way to reliably fasten wood veneer to a garage door. It would be difficult to install neatly but, more importantly, the veneer wouldn’t last long out in the elements. Even if you kept it varnished, I think it would deteriorate.
There are exterior glues out there that would do the job, but it’s the wood that’s the limiting factor. If a wood look is what you’re interested in, then perhaps you could get someone to paint on some faux wood patterns. These look pretty good from a distance. It’s an old technique that was very popular a hundred years ago.
Gluing construction lumber
Q: What kind of glue should I use to glue exterior lumber? I’m planning to glue two 2x6s together to make 3×5½-inch tongue & groove lumber for cabin walls. I tried Titebond II, but it’s too thin.
A: One option that will work very well is a construction adhesive called PL Premium. It comes in caulking tubes, is completely waterproof and quite viscous. Don’t use other construction adhesives. PL Premium is far superior. I’ve never seen anything else work as well.
All this said, you might consider finding a small sawmill somewhere to mill some 3×6 for you. There are mills like this all over the country. The cost of custom-milled wood will be similar to your plan, and you won’t have the trouble of lamination.
Rebuilding an RV floor
Q: How should I make a replacement for the slide-out floor in my motor home? The wood has rotted and I’m thinking of gluing several layers of plywood together to make a new floor. What glue should I use?
A: Your plan is good. Make sure you use an exterior grade plywood (pressure-treated is even better) and make your total floor thickness at least as thick as the current floor. These days there are more water-resistant glues than were available in the past, and one of my favourites is called Titebond III. It comes in a bottle and looks like regular wood glue, but it’s more than water resistant enough for your application.
I’d do the lamination work on a large, flat, concrete floor, then use a roller to apply the glue to both mating surfaces of each piece of plywood. These sheets are going to want to slide on each other when they come together, so start by using small finishing nails to hold things aligned — one in each corner. I wouldn’t use screws to pull the sheets together, but rather weights resting on pieces of lumber to spread the pressure.
Gluing outdoor tiles
Q: What should I use to glue ceramic tiles to a pressure-treated planter? I live in Minnesota, so it gets hot in the summer and really cold in winter. How can I accomplish this with the weather conditions of moisture and temperature changes?
A: The best option I can think of is a particular construction adhesive called PL Premium. There are lots of construction adhesives on the market, but this is the only one I know of that’s based on polyurethane.
I know from many years of experience that this stuff works very well in all outdoor conditions. It comes in a caulking tube and is nice and thick — perfect for setting tiles. Also, be sure to use tiles rated for outdoor use. Many indoor tiles absorb enough moisture that they will crack and flake as temperatures drop below freezing.
Gluing a sign
Q: What do you recommend for bonding an 8×6-inch acrylic-backed sign to a tinted exterior glass window? The sign will be outdoors and must have strong adhesion and a clean, clear installation with no residue.
A: The best approach with unusual situations is to try a test first. Can you get some of the sign material to use as a test on a separate piece of glass? I’d apply spray adhesive to the back of the sign only, then stick the sign to the glass. This will probably work fine, but a test is wise anyway.
Another option is the kind of thin, double-sided tape used by artists and layout pros. This is much thinner than double-sided carpet tape, which wouldn’t be suitable. A few strips of the high-end double-sided tape would do a very nice job, though you would see the strips of clear tape from the back. Spray adhesive would give you a uniform look.
Gluing vinyl cladding
Q: How can I re-fasten the vinyl cladding on my patio doors? The vinyl came loose and I removed it completely so the wood can dry out. The vinyl looks fine and I’d like to re-secure it on the wooden portion of the door. What adhesive would you recommend?
A: I’ve been considering your situation and the best option I can think of is contact cement. You need something that’s waterproof, thin enough to allow a tight fit between vinyl and wood, and the ability to bond to both porous and non-porous materials.
I’d roll on contact cement on both the wood and the vinyl, let it dry completely, then roll another coat on before letting it dry and applying the vinyl. Just to be sure, I’d also try some experiments using vinyl and scrap wood. I think contact cement will work fine, but you want to be certain of the glue you’re using and your technique.
Glue for an exterior door
Q: Any chance you could recommend a suitable glue? I’m making the entrance doors for my house from two-inch-thick Oregon pine, butt joining the side stiles to the cross members with one-inch hardwood dowels. I’ll clamp the frame together after gluing, but it will take about 30 minutes to assemble. The entrance is covered but will occasionally have some rain blow onto the surface.
A: It’s wise that you asked because glue is really important. Titebond III is an amazing glue and it will work terrifically well for you in this application. It’s just like regular wood glue, except that it dries completely waterproof.
Assemble and clamp your door without glue as a first step, just to make sure everything fits together properly. Loosen the clamps a little, take the parts apart, then reassemble with glue. Have a friend help you to speed things up. You don’t want the glue to grab without full assembly.
