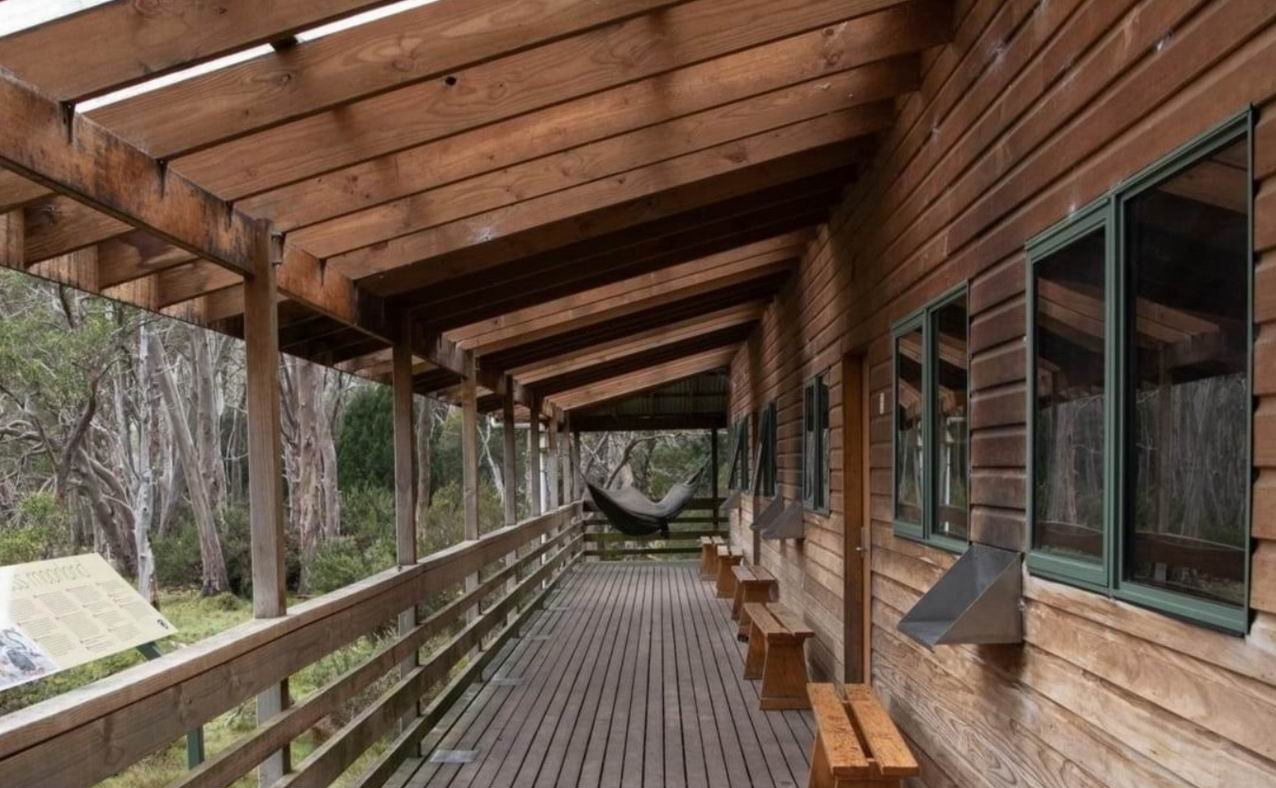
The old-time, roof-covered open porch, or veranda, is a traditional architectural feature that’s been staging a comeback. I’m a big fan of verandas, mostly because I feel good when I’m standing on one.
The practical side of my brain follows along by pointing out all the technical advantages verandas offer, too:
- Windows, doors and siding all last longer when under the protection of a roof.
- Even the floor itself will outlive a comparable deck because the roof partially deflects rain and sunlight, reducing the toll these take on wood and finishes.
- And verandas with eavestroughs are helpful at drying up basement leaks, since they typically shed rain 1.5 to 2.5 metres (six to eight feet) away from the house.
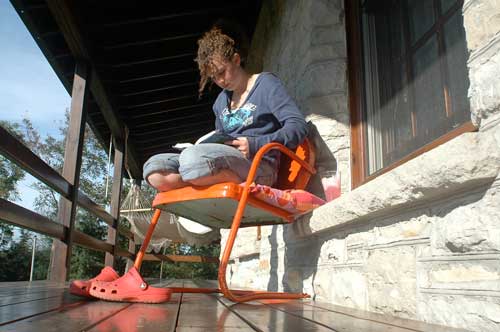
Successfully adding a veranda onto your house (or directing a professional to add one for you) starts with an understanding of key design and construction basics.
Veranda design considerations
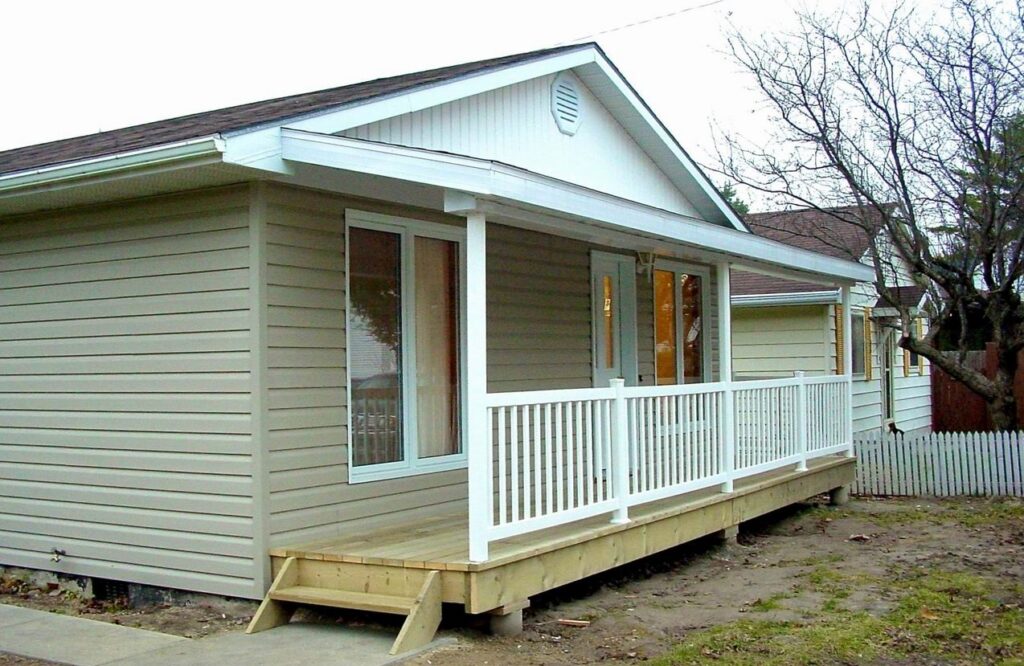
This veranda was added long after the modest bungalow was originally constructed. Besides offering deck space, the roof provides a shaded place to sit, protected from the weather.
Does your house have what it takes to sport a traditional veranda? The best place to begin your quest for a pleasing design is to search for other houses with verandas you like. Most will probably be 1½- or two-storey homes, but verandas can also be added to bungalows, as you can see above.
The two most important visual details are floor width and roof slope. It’s easy to make a mess if you get these key details wrong for your situation, so do your homework. In fact, the issue of proportions is crucial enough that you should ask permission to measure these details on houses around your neighbourhood that strike your fancy.
You’ll usually find verandas are far narrower than what you’d expect from an uncovered deck. Don’t let this worry you. Six- to eight-foot-wide verandas are typical on homes where a deck twice as wide might otherwise be installed.
Even after seeing and measuring several verandas you like, adding one to your house can still be an esthetic gamble because you’re making such a large visual change to the structure.
A simple way to see what you’ll be getting is by building a small-scale model using low-tech materials such as cardboard, foam board, tape and hot-melt glue. The aim is to know exactly what you’re adding to your house visually before any lumber is cut. It’s wonderful to move ahead with the confidence that this exercise inspires.
Fair warning: Adding a veranda can also darken the inside of your home if its roof shades major windows. Eliminate this problem by putting skylights in the veranda roof, right over those important windows.
The skylight below is one of three I have in my own veranda roof. These skylights are located immediately above house windows, so they do help illuminate the interior of the house.
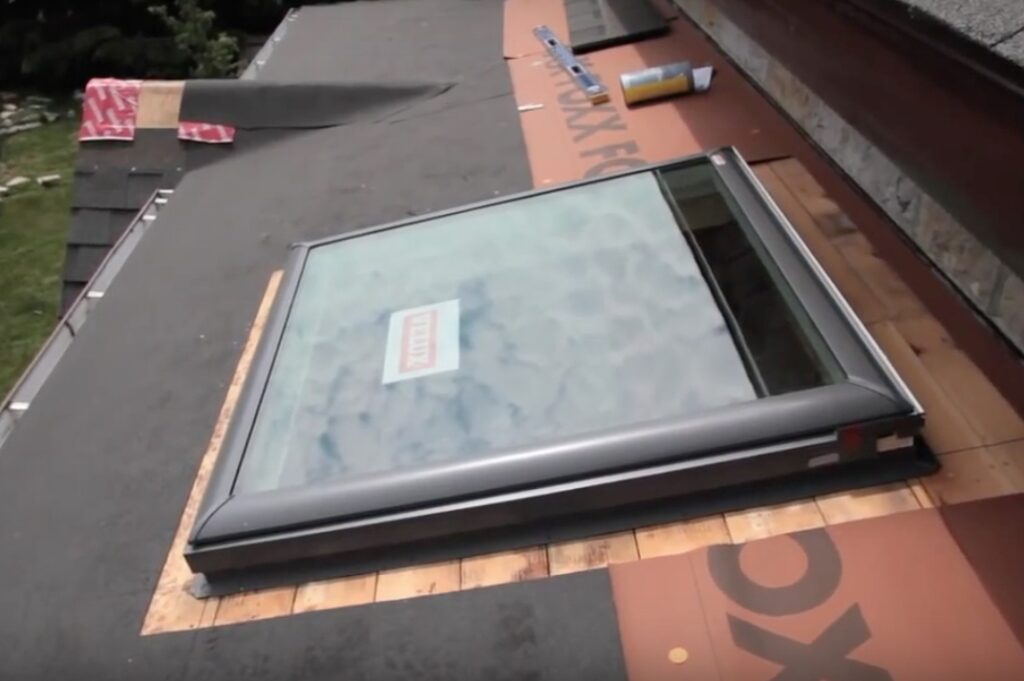
And here’s a tip: Make the skylights openable and remove screens. Sounds crazy, but insects (and hummingbirds sometimes) gravitate to the screens and get trapped there. If you leave the screens in you’ll get a nasty mess up there in no time.
We go without screens and we open the skylights as often as we can. This isn’t for ventilation (it is an open veranda after all), but to let the bugs escape. It works really well. Ditch the screens.
Construction details
You’ll have to invest more into the footings of a veranda than those of a deck, because the seasonal wood movement that could occur with a poor foundation is more critical when you’re supporting a roof.
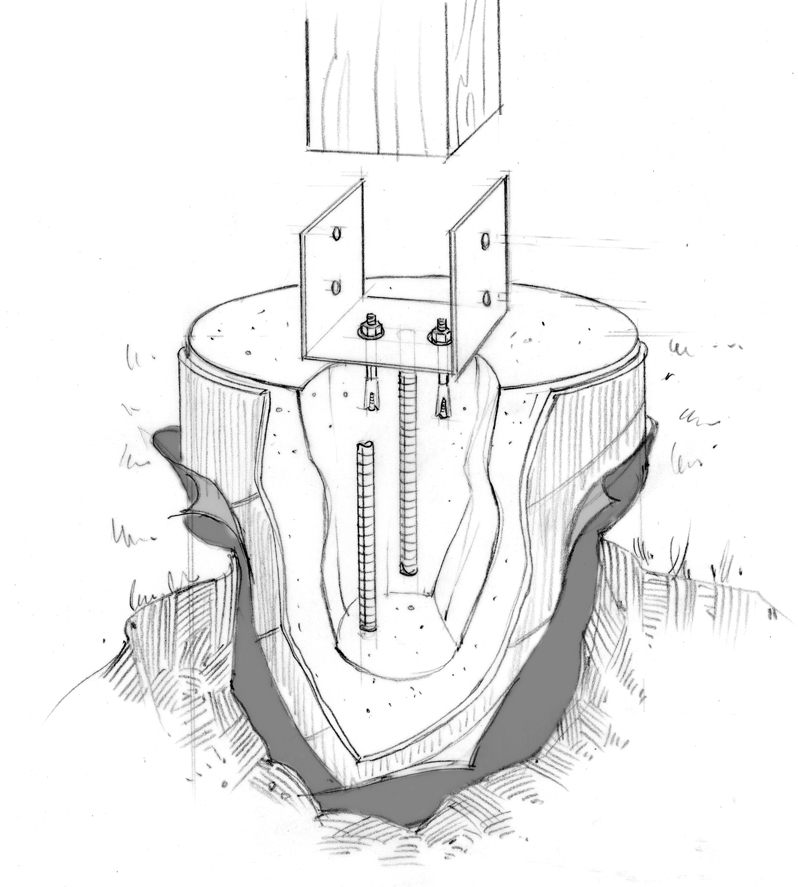
The best type of veranda footings are concrete piers that extend down below the frost line under each roof support post. Corrosion-proof metal brackets, called post saddles, that are set into the top of these piers when the concrete is still wet form an anchor for the 6×6 or 8×8 posts that’ll support the roof. It’s best to also bolt these brackets down to the piers after the concrete has cured to help resist the strong upward force of wind when it gets under the veranda roof.
Don’t use pre-cast concrete deck feet to support a veranda because the downward loads are too great and they offer no resistance to wind lift. You can see post saddles below.
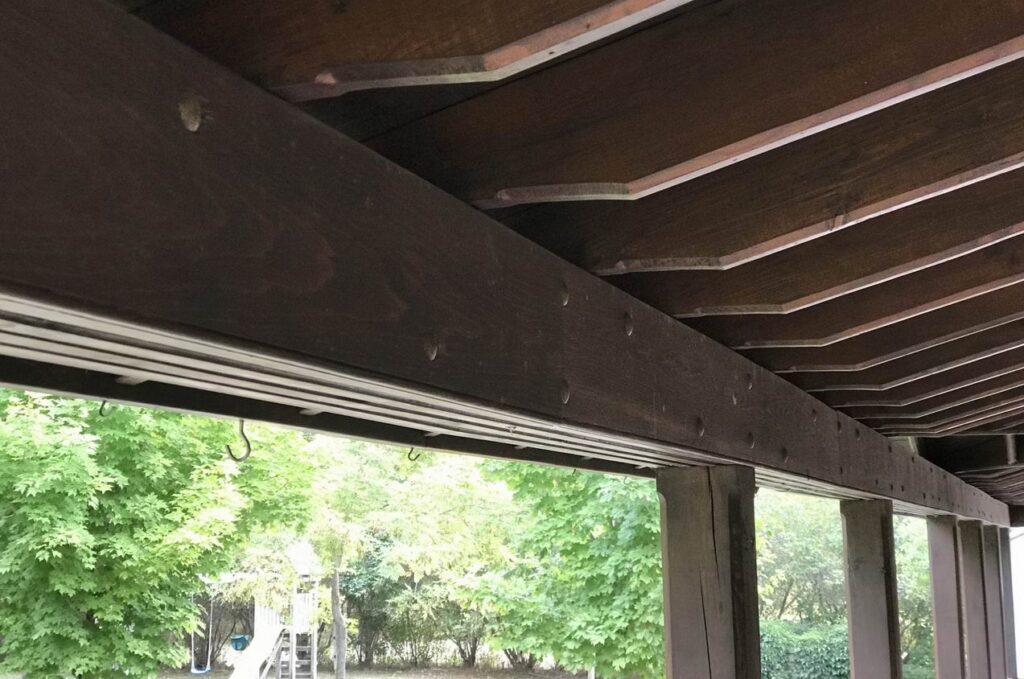
Verandas built 60, 70 and 80 years ago typically had a wooden ceiling applied to the underside of roof rafters, but I’ve noticed that this can promote rot by trapping rainwater if it leaks past shingles and flashing. It also adds a lot of expense in materials and labour.
An easier alternative is to frame the roof of your veranda with standard 2x6s or 2x8s, sporting routed edges to improve their looks. It’s amazing how pretty construction-grade lumber can look when it’s treated with a little artistic care.
Since the underside of the veranda’s roof sheathing remains visible in this design, it’s best to use solid wood planks for the roof deck, rather than plywood. Pre-finishing the rafters and roof boards before installation saves you the enormous hassle of overhead finishing.
Verandas are more work to build than a deck, but they add so much more enjoyment to your home. Once again, it’s a case of a little more effort delivering a lot more value.
