Sometimes it’s the simplest of projects that can give you the most satisfaction. DIY decor doesn’t have to be elaborate or expensive, you just need something to inspire you. With that in mind, here are five easy weekend projects.
Project 1: Upcycling into a headboard
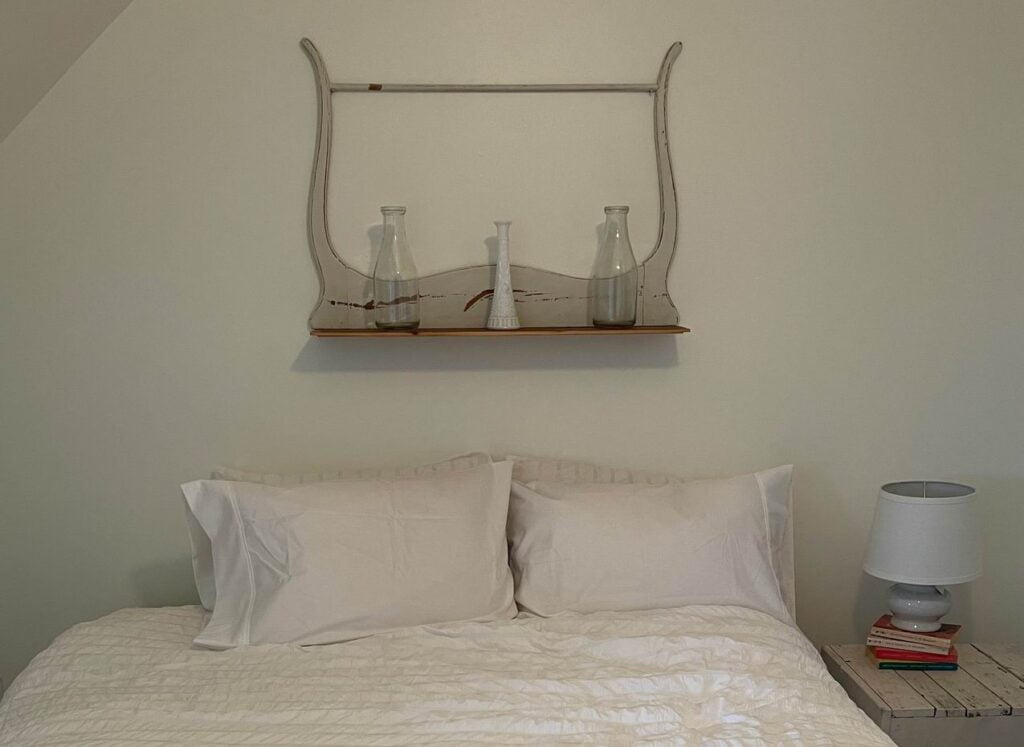
I was working virtually with a client from Prince Edward Island and we were styling one of her guest rooms. We tasked ourselves with being creative and frugal in our decorating and I think we found a fabulous, stylish solution for a headboard.
She had an antique washstand and didn’t want to use the top portion, so she removed it, not thinking we could use it for something else. She also had a discarded piece of wood that was ready for the garbage.
She mentioned these pieces to me and as soon as I saw them I knew exactly what we were going to do with them!
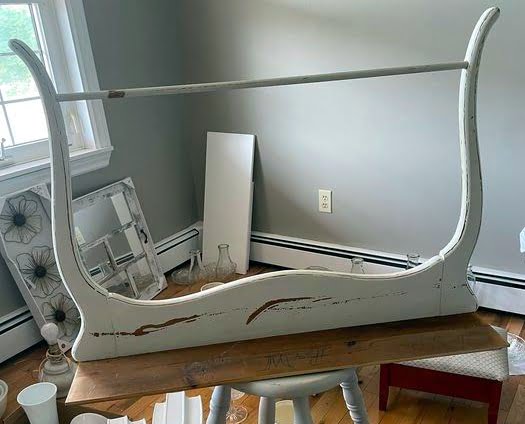
We were lucky that the piece of wood was the perfect length to add to the larger washstand top. After a few nails were added, she hung her new, unique headboard piece over the bed and loved it! Simple, yet stylish, and — best of all — no cost!
Project 2: Front hall transformation
The front hall entrance area is the first thing family and friends see when they come into our homes. For many of us, the front entrance is usually filled with shoes, coats and knapsacks. Transforming this space doesn’t have to break the bank.
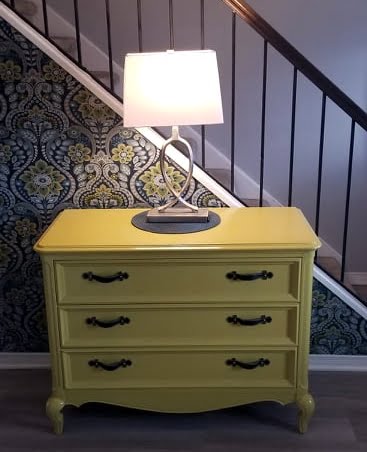
Here, one of my wonderful clients, Helene, purchased some fabulous wallpaper for the wall under the stairs. She also had this amazing antique piece that she wanted to breathe new life into.
Helene wanted a bold wallpaper and to paint the dresser with a pop of colour. Here was her inspiration:
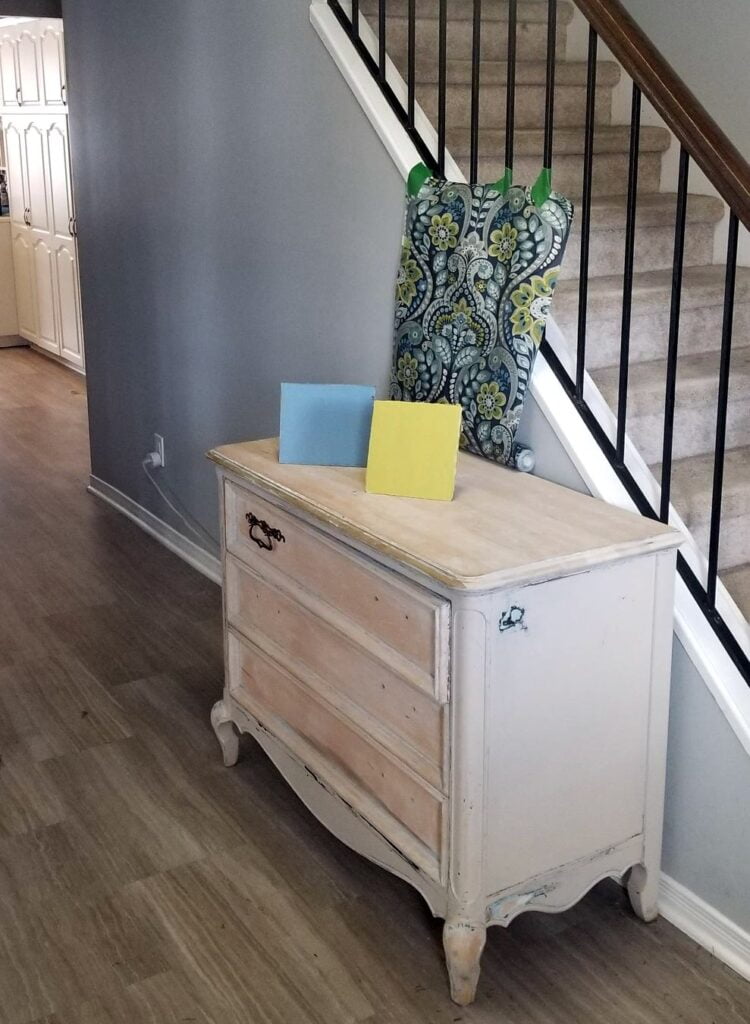
As the wallpaper was installed, the space began to come to life. And painting the dresser with a pop of yellow was such a good idea. It’s the perfect touch to the new, fresh entranceway.
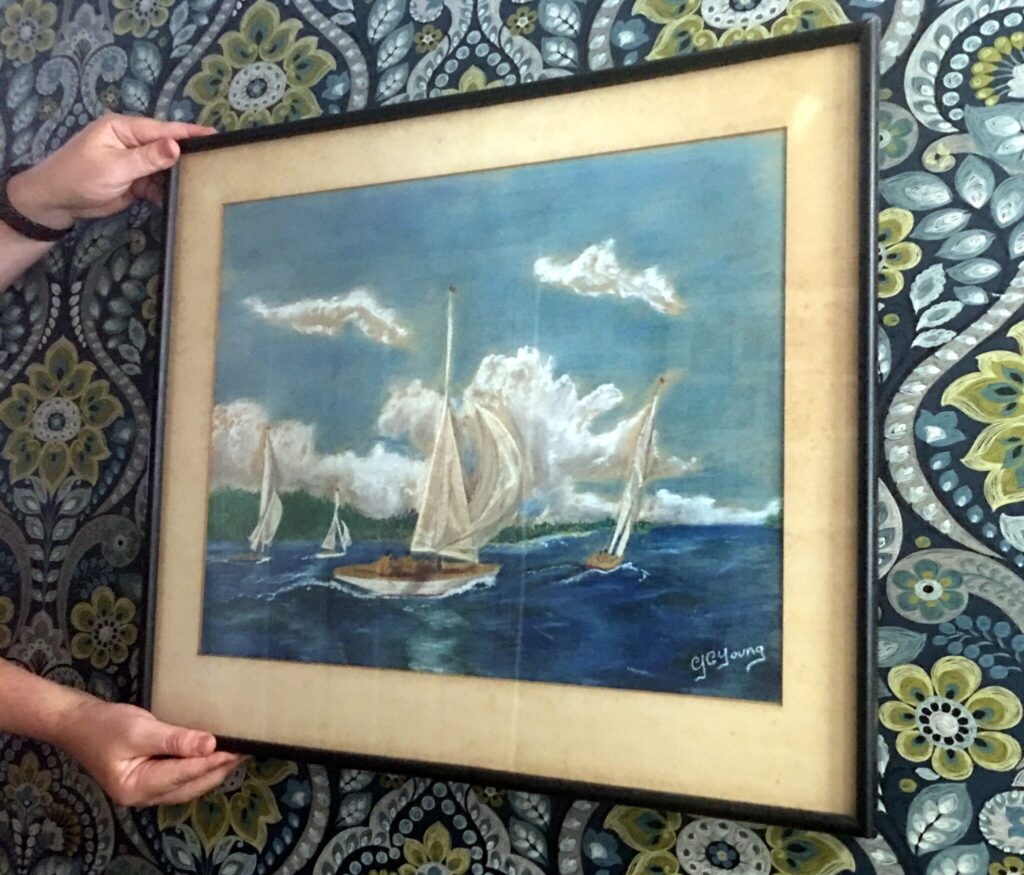
The last special touch was to add this amazing piece of art created by Helene’s father-in-law in the 1970s. I saw this artwork in her living room, propped up against a hutch, and noticed the colours tied in perfectly to the wallpaper.
We took it over and positioned it on the wall and it looked fabulous. The best thing is that a very special piece of artwork has a prominent place now in her home for the family to enjoy.
Project 3: My coffee table
I don’t know about you, but when I get an idea in my head it stays with me until I find exactly what I am looking for.
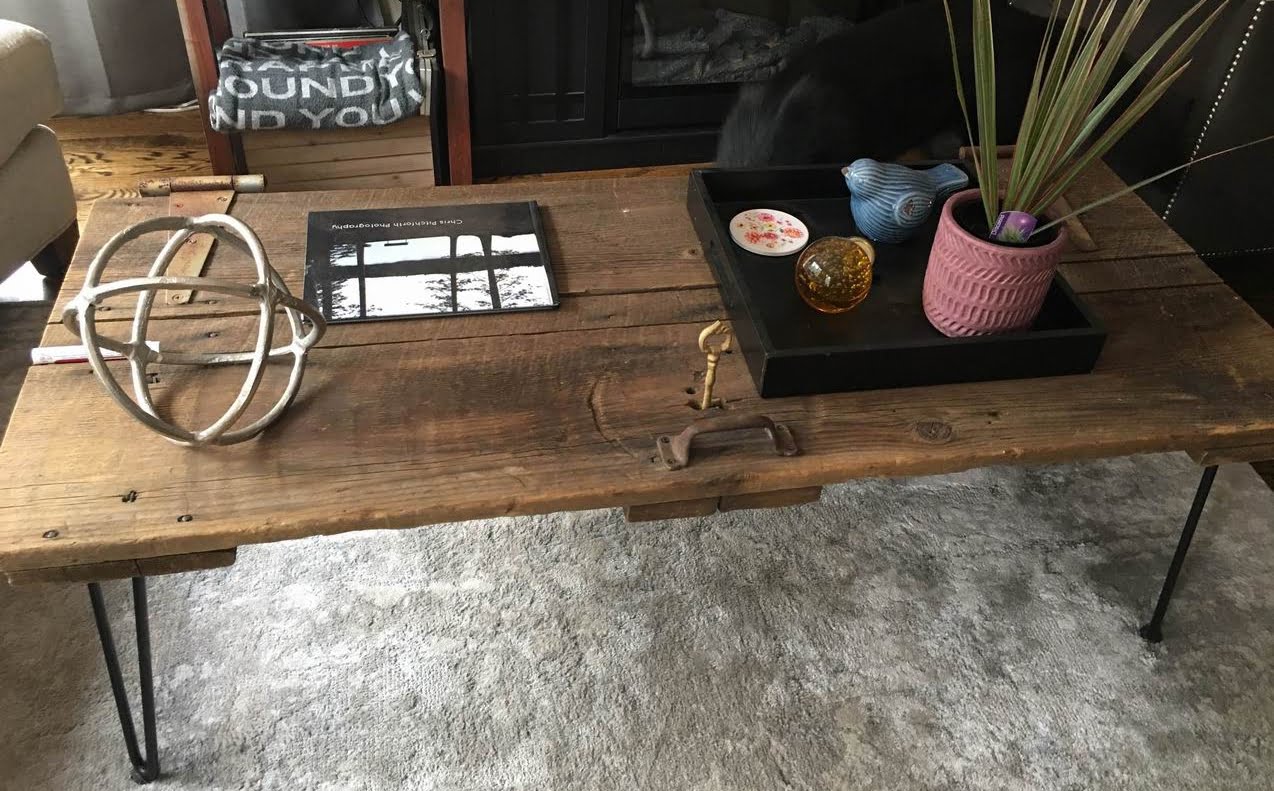
I knew I wanted to create a unique coffee table. I had no idea what it would look like, I just had the faith I would know when I saw it. It took me almost four years and my son’s keen eye for me to finally get it.
My son was working on a site and the owner was getting rid of this amazing antique door.
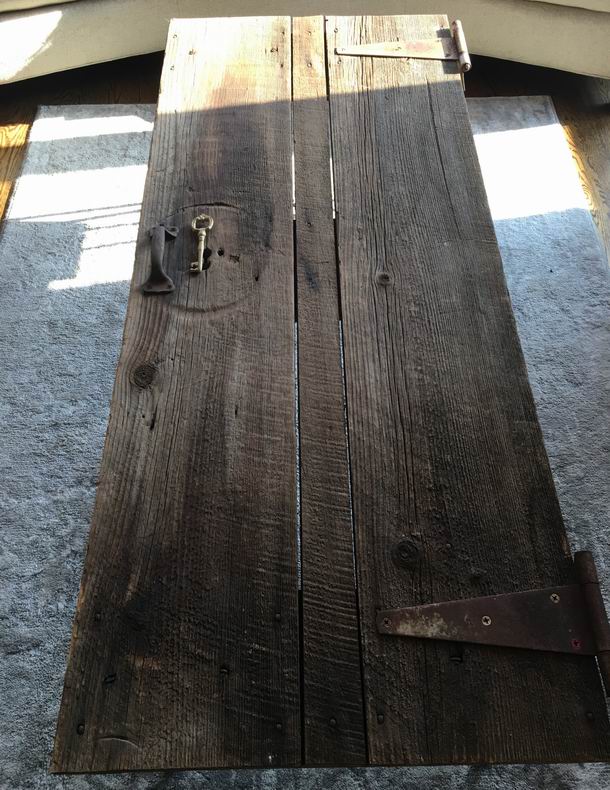
My son asked if he could have it, not knowing what he was going to do with it. All he knew was that I would love the piece. As soon as he brought it into my home we both looked at each other and knew this would become my coffee table. We purchased some hairpin legs and mounted them on the base of the door.
Patience was my friend in this instance and I just love it. In a bit of design serendipity, a “key” I purchased from HomeSense a few years ago happened to fit in the door’s slot.
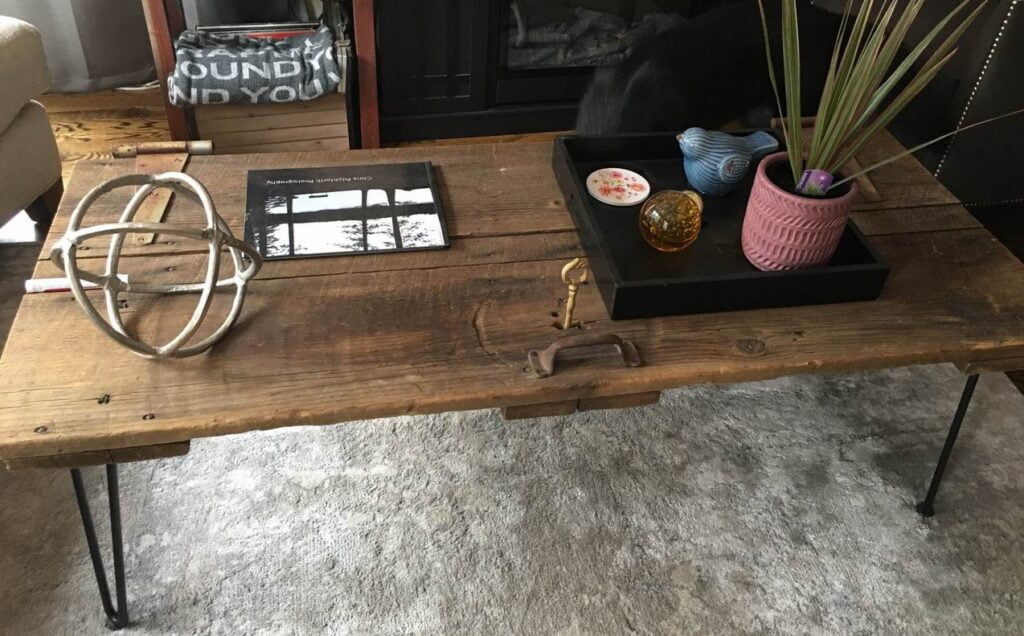
I styled the coffee table and it is my favourite piece in my home. So worth the wait and an easy weekend project!
More on the story of how my coffee table came to be:
Project 4: New life for a vintage tea cart
I love watching people learn something new and get inspired at the same time. My friend Christine has never attempted a painting project, so when I heard about this amazing transformation I knew I had to share it so you, too, can get inspired.
Follow along with Christine’s steps:
Step 1: She was given this tea cart from a “Buy Nothing” Facebook group.
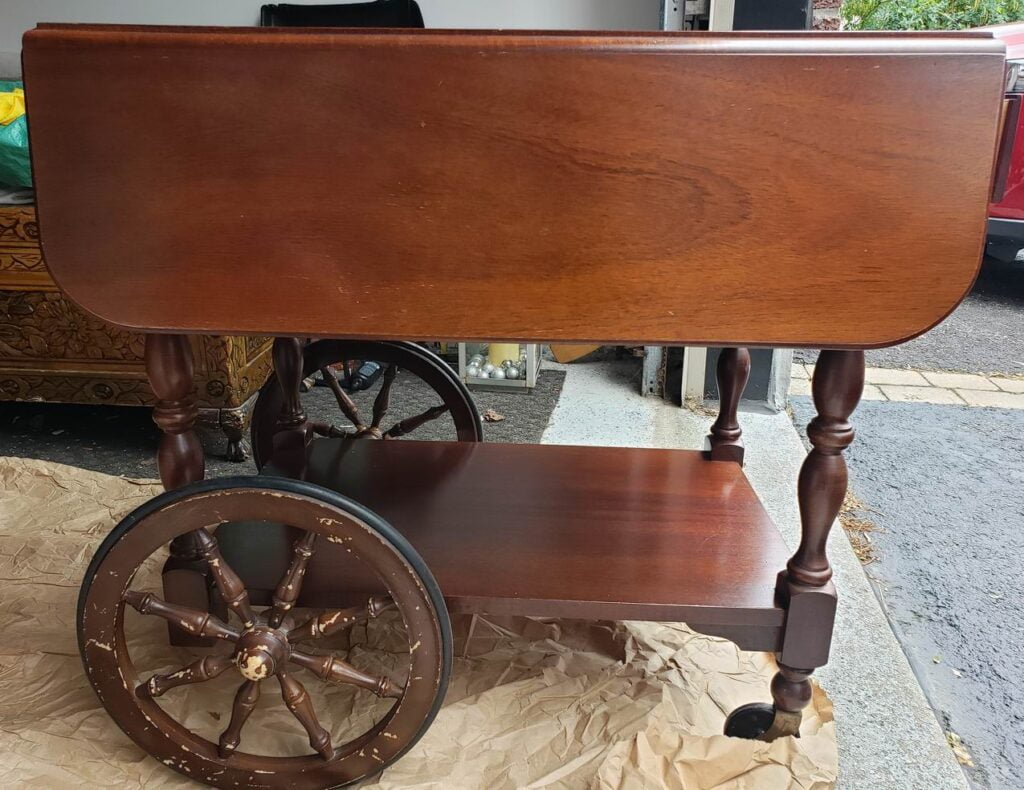
She loved the cart and thought she could paint it and breathe some new life into it. She watched a few YouTube how-to videos for tips on what to do.
Step 2: She purchased chalk paint, chalk paint brushes, chalk paint wax and wax brushes.
Step 3: She wiped down the tea cart, making certain it was clean and dry. There’s no need to sand furniture beforehand when using chalk paint; it makes it so easy.
Step 4: She applied the first coat and let it dry for 24 hours, then applied the second coat and let it dry for 24 hours.
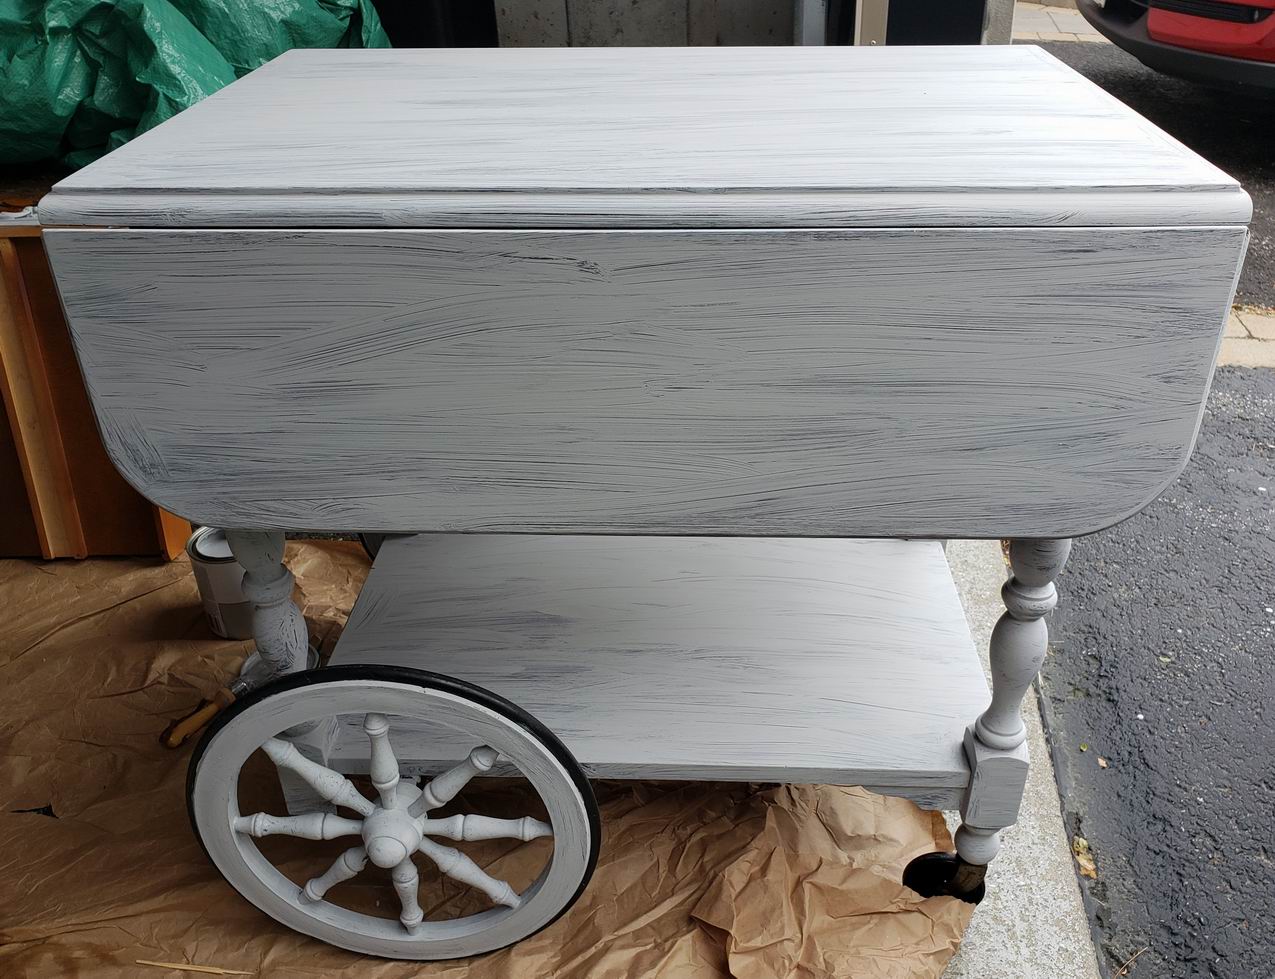
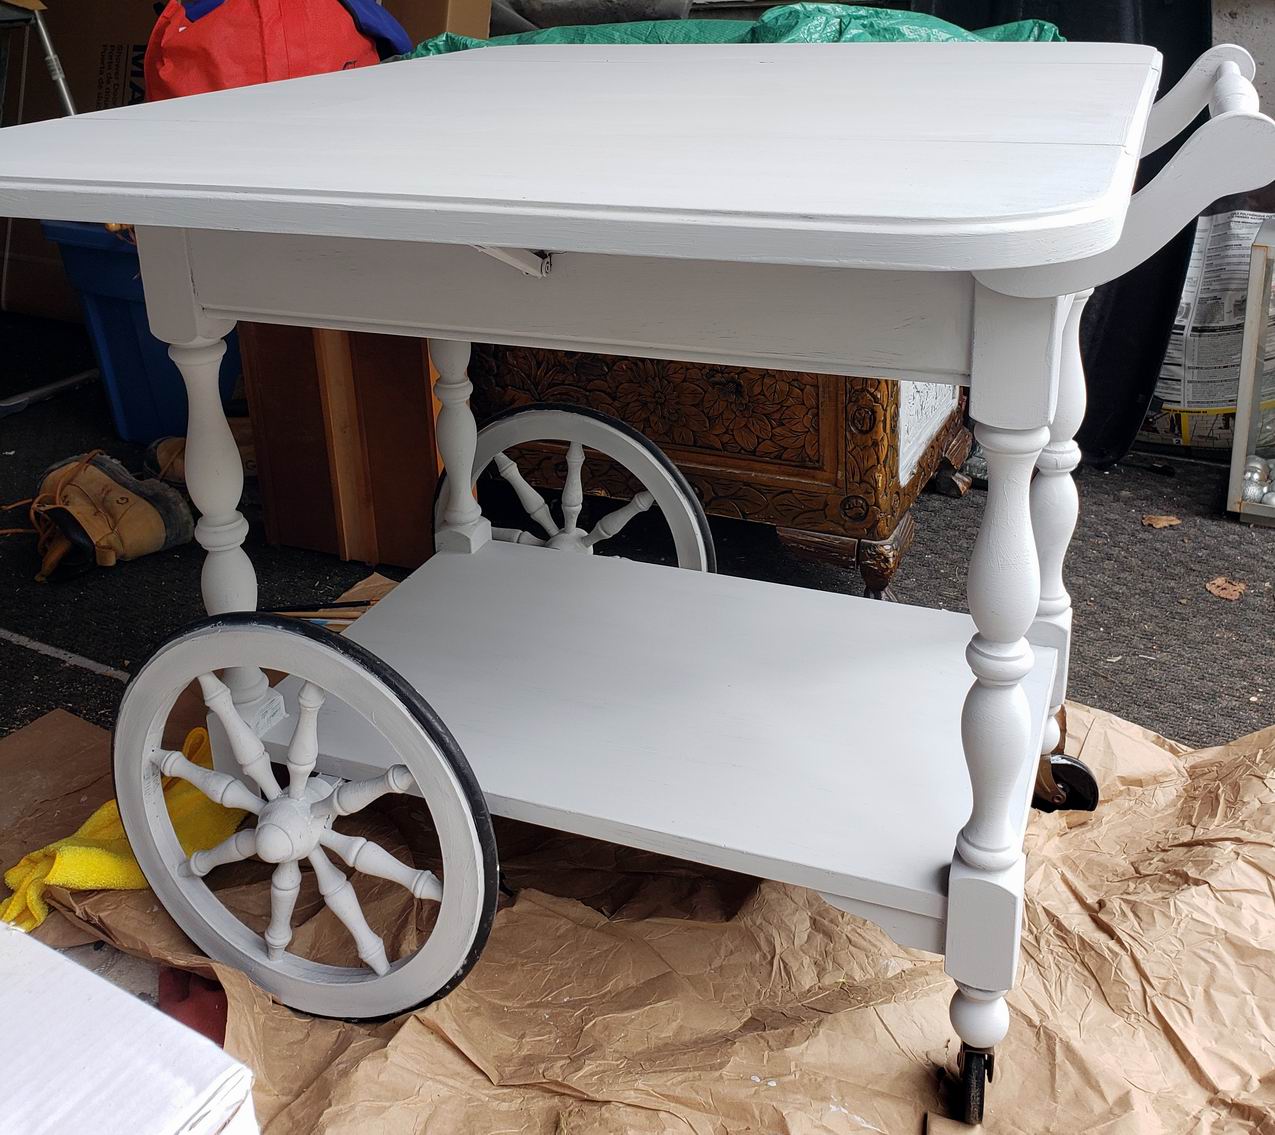
Step 5: She loved what she saw so far, but to really make this tea cart look fabulous she purchased a beautiful floral art transfer perfect for this piece.
Step 6: She applied the floral transfer.
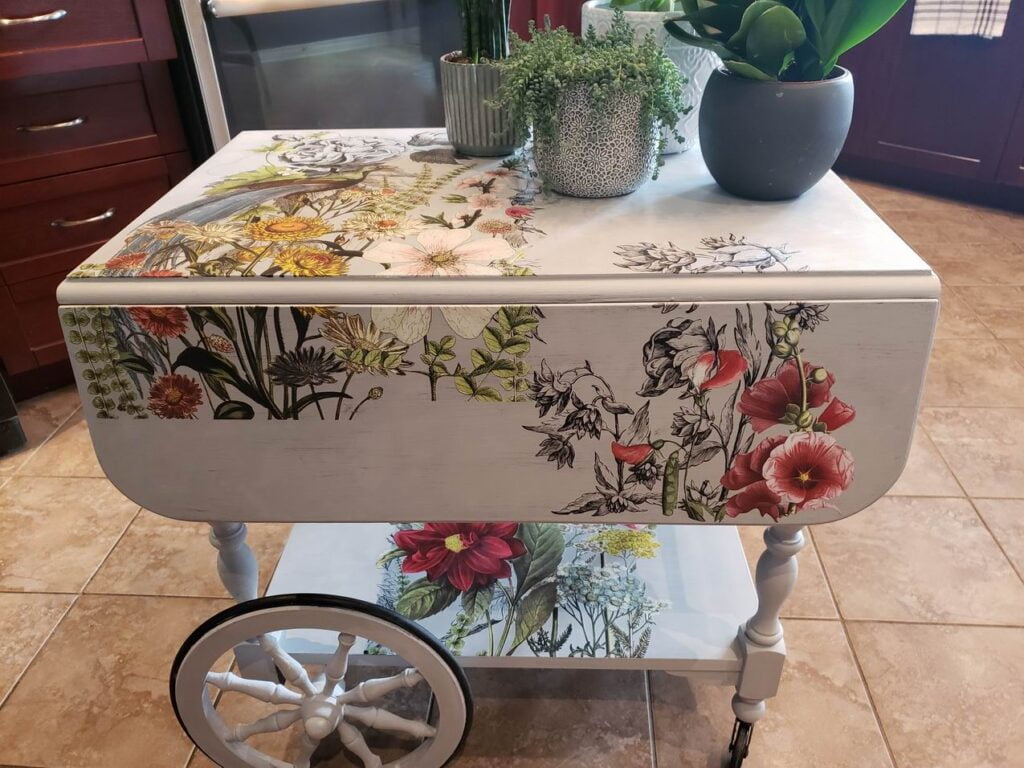
Step 7: Now to find the perfect spot for it.
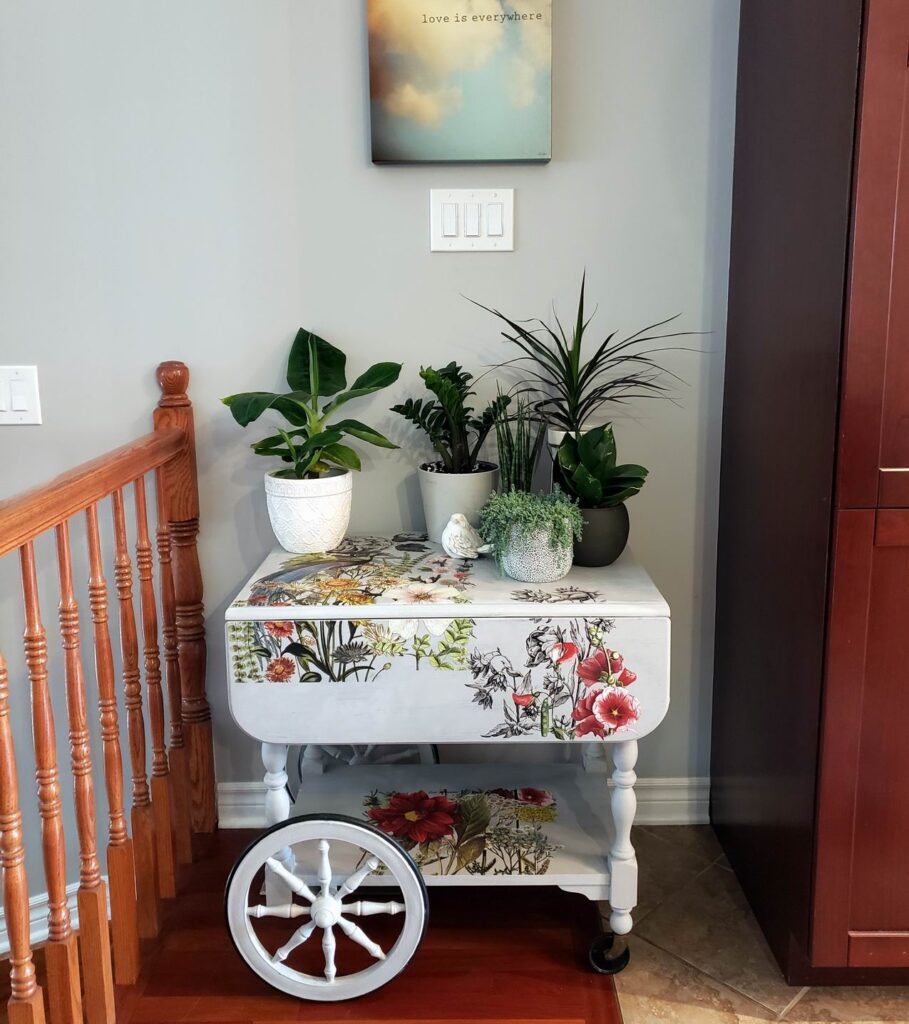
Christine is enjoying this amazing piece in its new home. She was so proud of herself and is already looking for her next painting project.
Project 5: What to do with a long piece of barn board?
I was excited to visit my client Catherine’s home for the first time. I saw this fabulous piece of wood just waiting to be used as soon as I stepped into her front entrance. I mentioned we would use this piece somehow during our consultation; how I did not know, but she was intrigued.
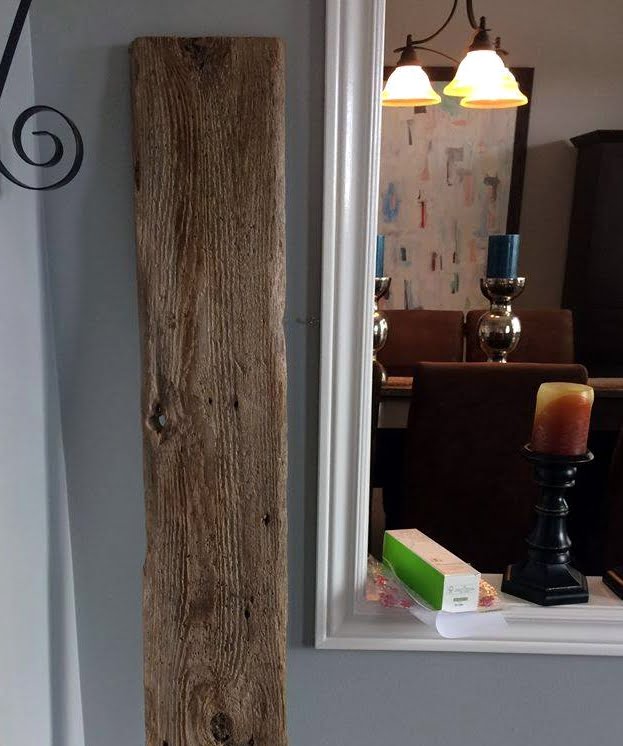
We toured her home and talked about her design dilemmas. We ended up in her dining room and I had an epiphany — I knew exactly what we were going to do with that barn board.
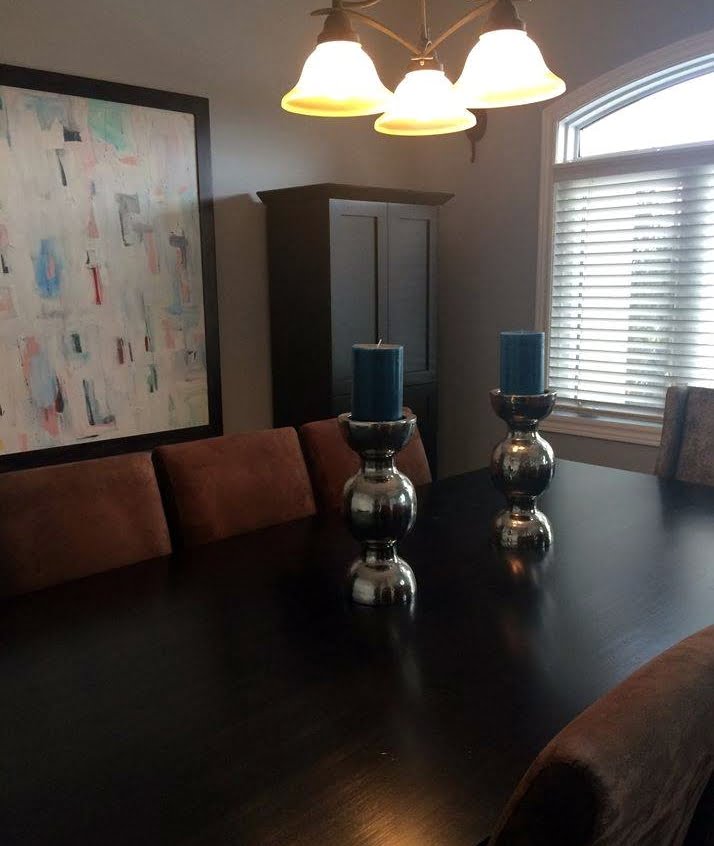
The dining room table needed a little something. I grabbed the board, we placed it in the middle of her dining room table, added two fabulous silver candleholders with teal candles on top and voilà!
Her table looked amazing. We couldn’t believe the length of wood was exactly the same as her dining table. The decorating gods were with us.
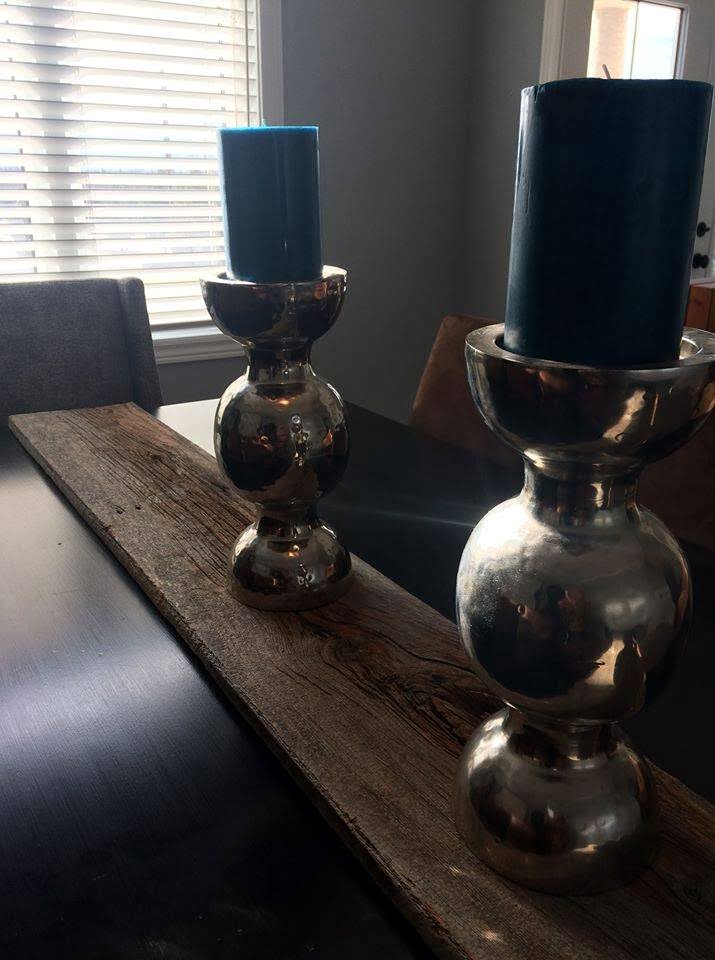
These five easy weekend projects made such a difference in each home. The homeowners were thrilled with the end results and they were given the confidence to try new things. I hope you are inspired to try new things as well!
