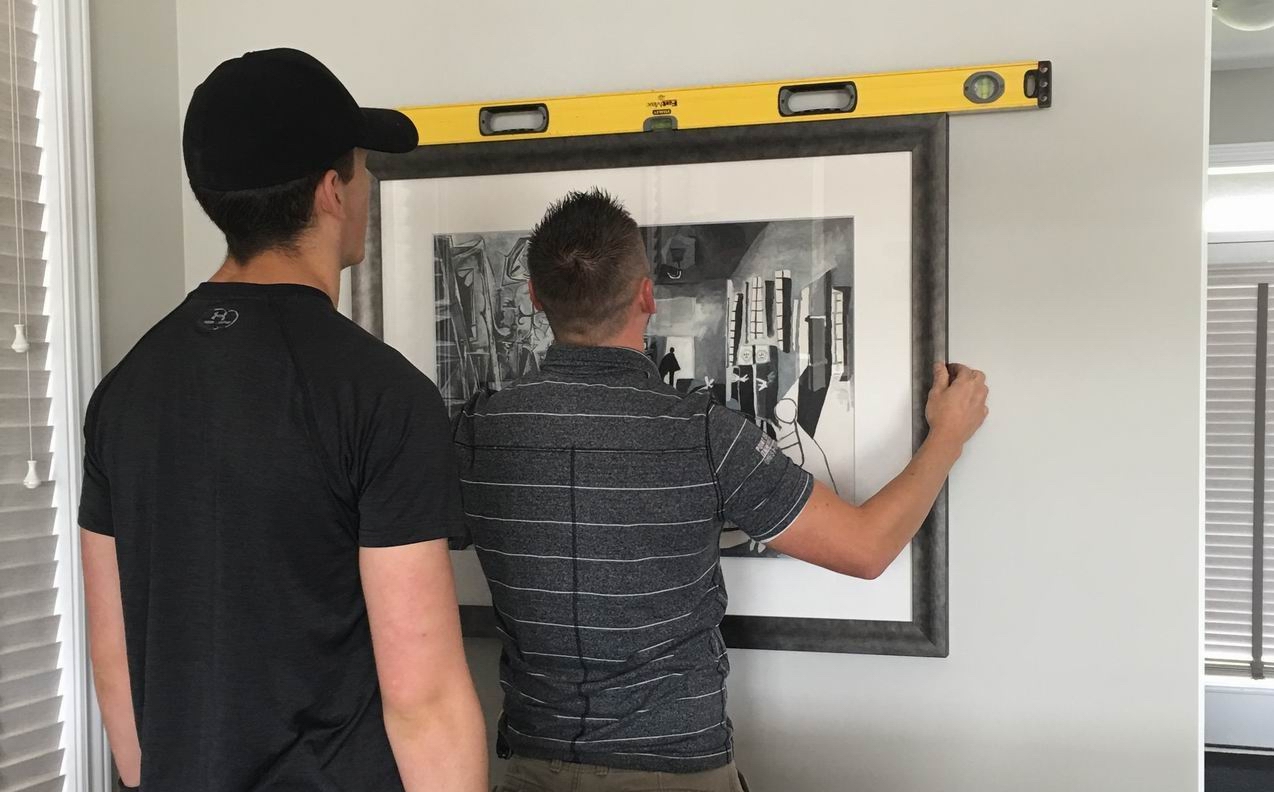
Clients often ask me how to hang art. As a designer, I hear the angst and frustration as they try to select and hang artwork in their homes.
Most homeowners hang their artwork too high and too spaced out. No wonder they are not happy with the result.
That’s why I’m sharing my tips on how to hang art, as well as tips for selecting your special artwork. Read on for real-life examples that I hope will inspire you to think of your walls and art in a new way.
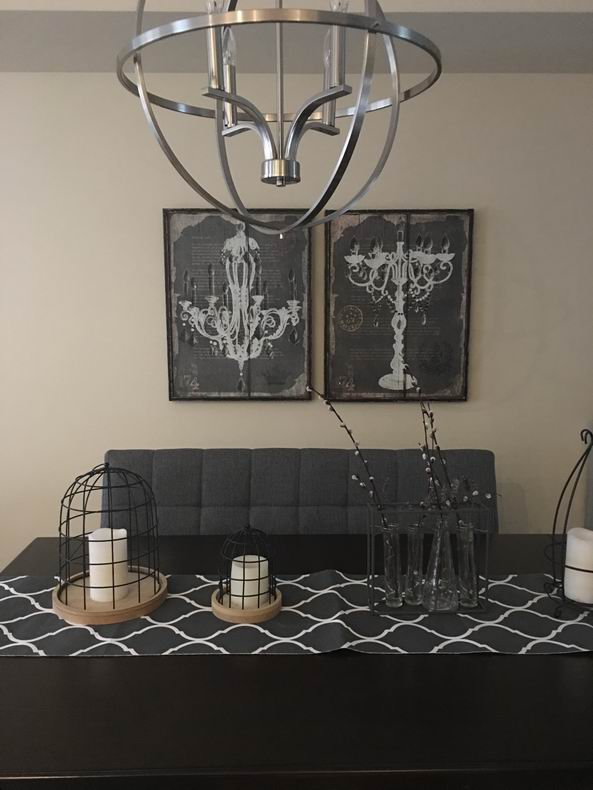
For many years, my neighbours had their art and family photos hung about 20 centimetres from the ceiling, in a line, all around their living room. I couldn’t figure out how they made that decision, but for them it seemed to work.
There are no right or wrong ways here — if you like it — go with it! But here are my suggestions.
Getting started
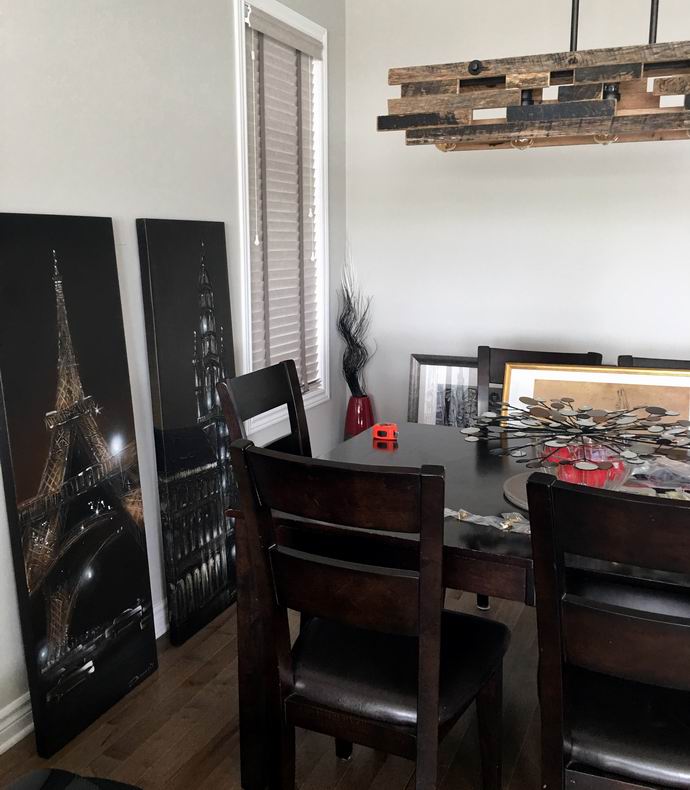
First, you need art. All types of it — traditional framed art, newer canvas art, signs, special photographs, clocks, anything that you can hang on the wall.
The most important thing for me is that the pieces you want to showcase mean something to you. Gather them together in one spot so you can easily see what pieces you’ve got to work with.
Your tools
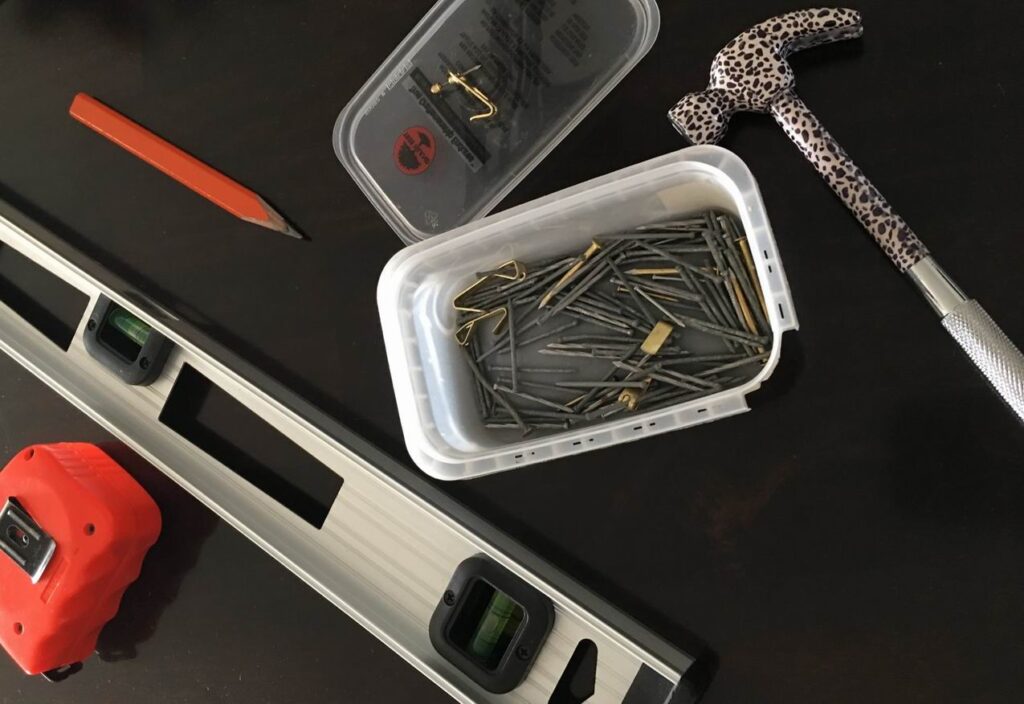
Use the following to help you:
- Level
- Hammer
- Nails, anchors
- Measuring tape
- Picture hanging strips (Command is a good brand)
- Drywall anchors & screws for larger pieces
- Press-on hooks for smaller pieces
- Picture hanging kit with various attachments
- Patience
How high do I hang my artwork?
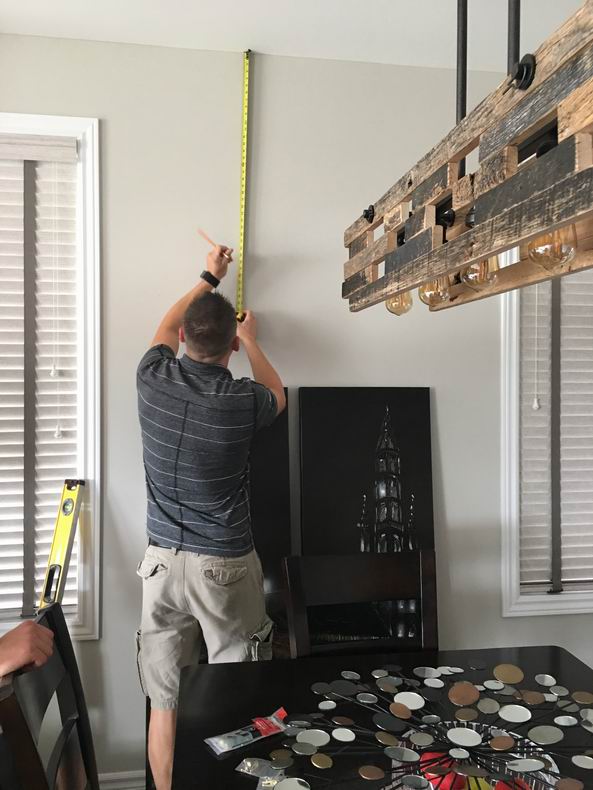
The rule of thumb is to hang your art 145 to 150 cm (or roughly five feet) from the floor. If your ceiling is over eight feet, you can hang your art a little higher than 150 cm.
For me, “eyeballing” the space/height is also important when hanging art. I usually hang my art this way — more at eye level.
The higher you hang art on the wall, the smaller the space will appear. Lower the art and your room will be more spacious. It’s all in what the eye “sees.”
Don’t hang a large piece of art on a small wall. Art needs space around it to breathe and to be enjoyed properly.
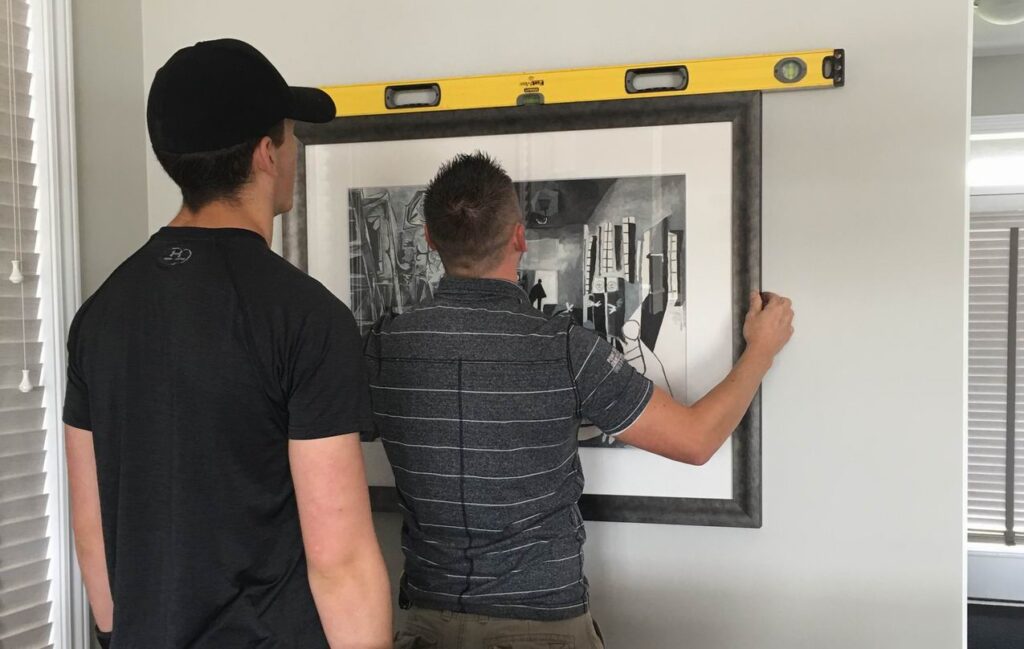
Make sure your art is level.
Gallery walls
I love helping clients create their own gallery walls. They fill up walls, add special memories to a space and give a dramatic look to a room.
Here are some examples of gallery walls to help inspire you.
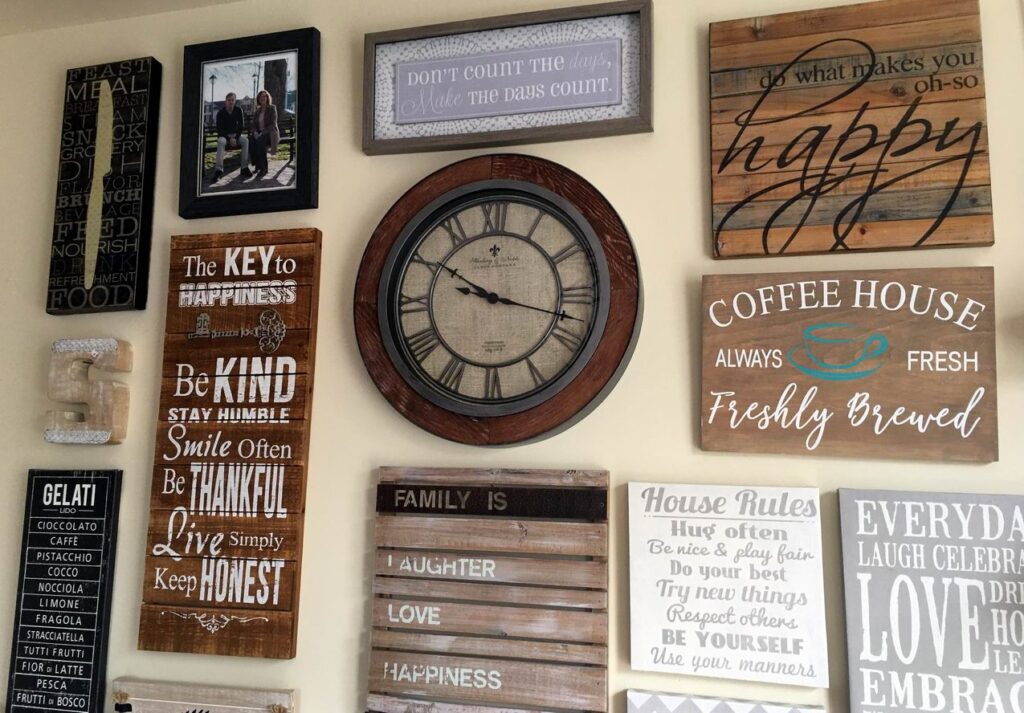
My kitchen gallery wall is very special to me. I had moved into my new home after my divorce and I wanted this wall to inspire me every day and make me smile.
I gathered special photographs, inspiring signs, quotes and my clock and created a wall that I love. As a bonus, guests really appreciate the wall of inspiration.
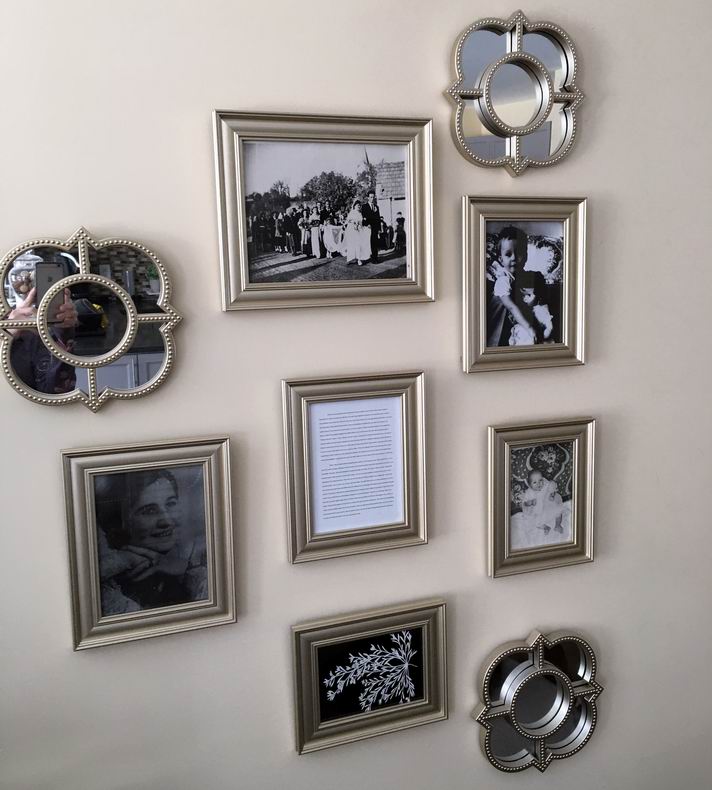
I have a long wall in my living and dining room and I wanted to break it up so the room didn’t seem like a bowling alley. I did that with art, creating an unexpected layout and using a monochromatic theme.
I gathered some of my favourite black-and-white family photos, some unique mirrors and frames to match and created this mini gallery wall in a unique shape to separate the living and dining room from each other.
Here is the wall showing my mini gallery as well as my dining room artwork beside a large mirror leaning on a buffet:
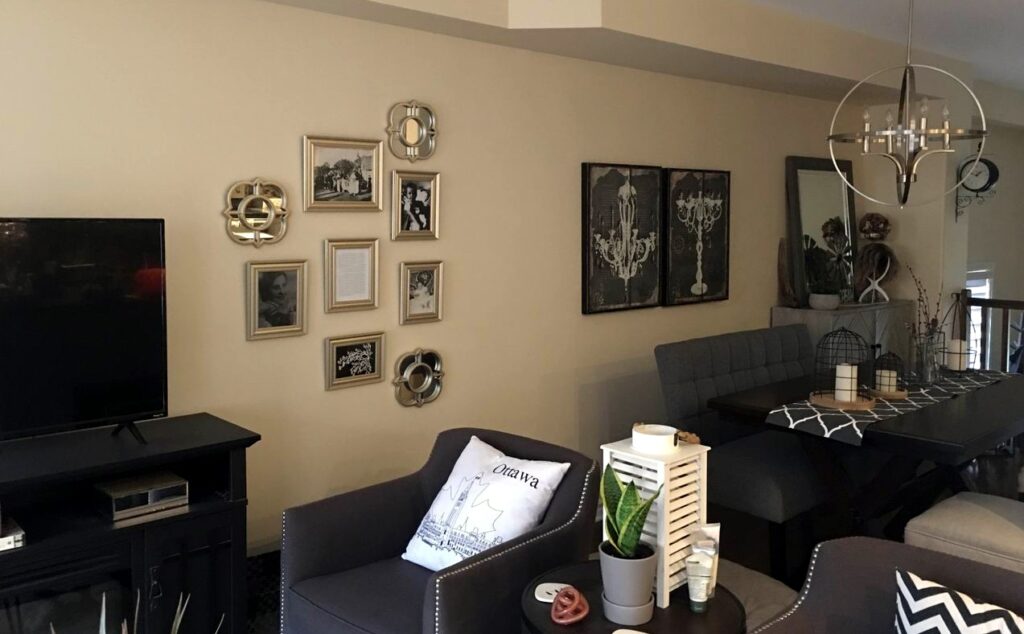
The dining portion of the room has the two larger pieces of art showcased over the dining table and chairs.
Designer tip: If you’re looking to create a family wall of photos, I suggest you photocopy the photos and place them in black frames. The frames don’t have to be the same, just the same colour. By removing the “colour” from the photos and frames, you can now really see and enjoy the photos even more. Plus, it looks more uniform on the wall.
DIY gallery wall
If you want to create your own unique gallery wall, here are some tips.
Gather the items you’d like to hang and lay them on the floor in a pattern you like. As you can see here, things don’t have to go together in a theme:
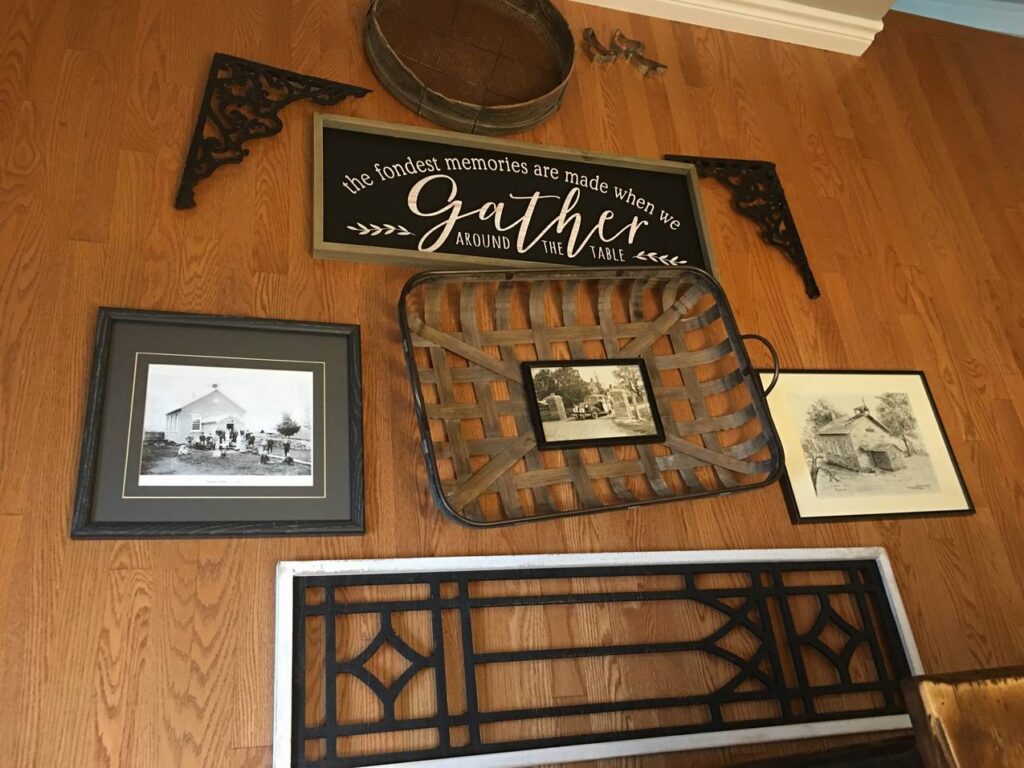
Once you decide on your pattern, then you can start hanging items on the wall. Try using brown paper to cut out a template of each piece and hang the paper on the wall to help guide you.
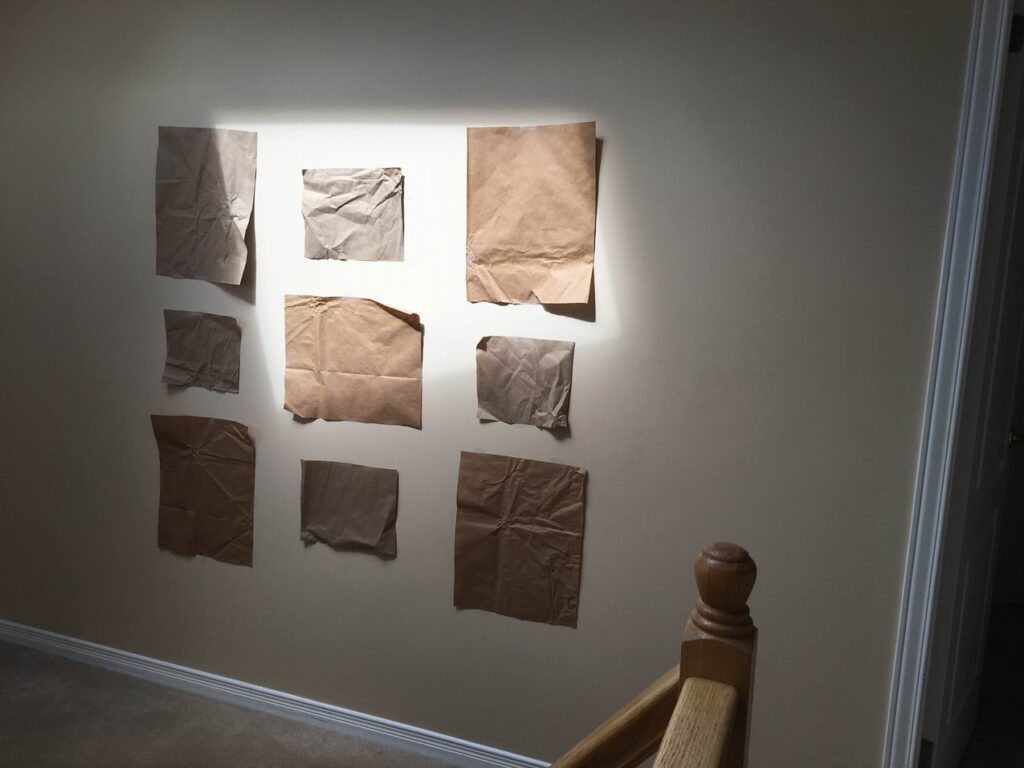
Hang each piece, stand back and enjoy what you have created.
Have a challenging wall? Not to worry! Even an angled, small wall can look great.
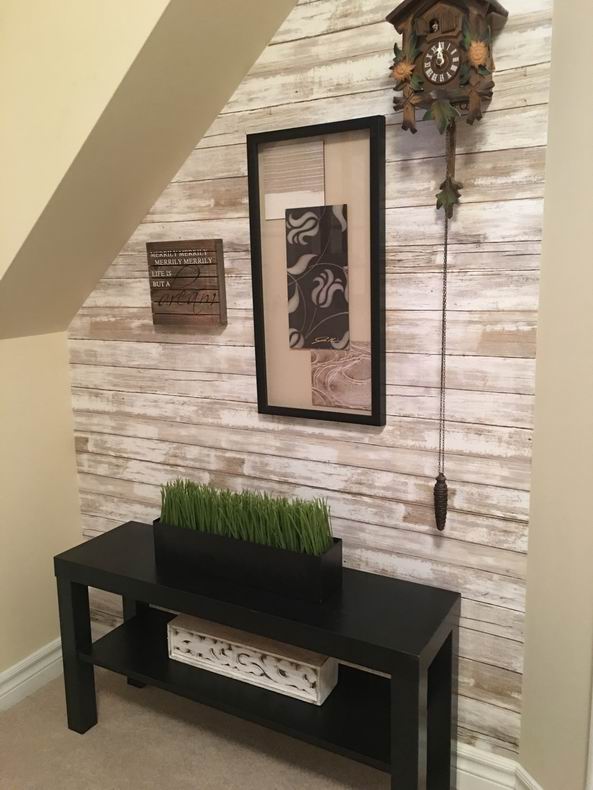
This wall was a dilemma, but luckily one that we solved. We installed peel-and-stick wood-like wallpaper on the walls, added a family treasure (the cuckoo clock), a piece of unique art and a low table with accessories. We now have an amazing little wall that has so much character.
Unique pieces as wall art
One of my clients had a fireplace in her dining room and didn’t know what to put over it. I asked her if she had any artwork that she had always wanted to hang but hadn’t and she showed me three bird nest pieces of art.
These were very special to her as they were given to her by her sons, so she wanted to showcase them somewhere she would see them every day.
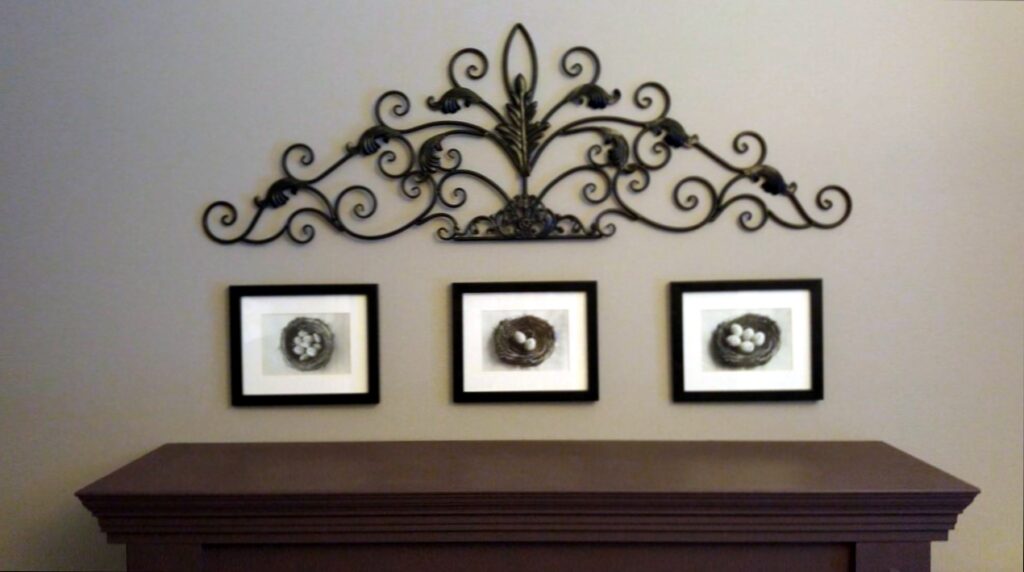
As we were talking about how to hang them over the fireplace, we realized we needed something else to hang with them to complete the look. We decided on this wrought iron piece as the perfect touch. Now the space above her fireplace really makes the room warm and cosy.
Create a Boho beach feature art
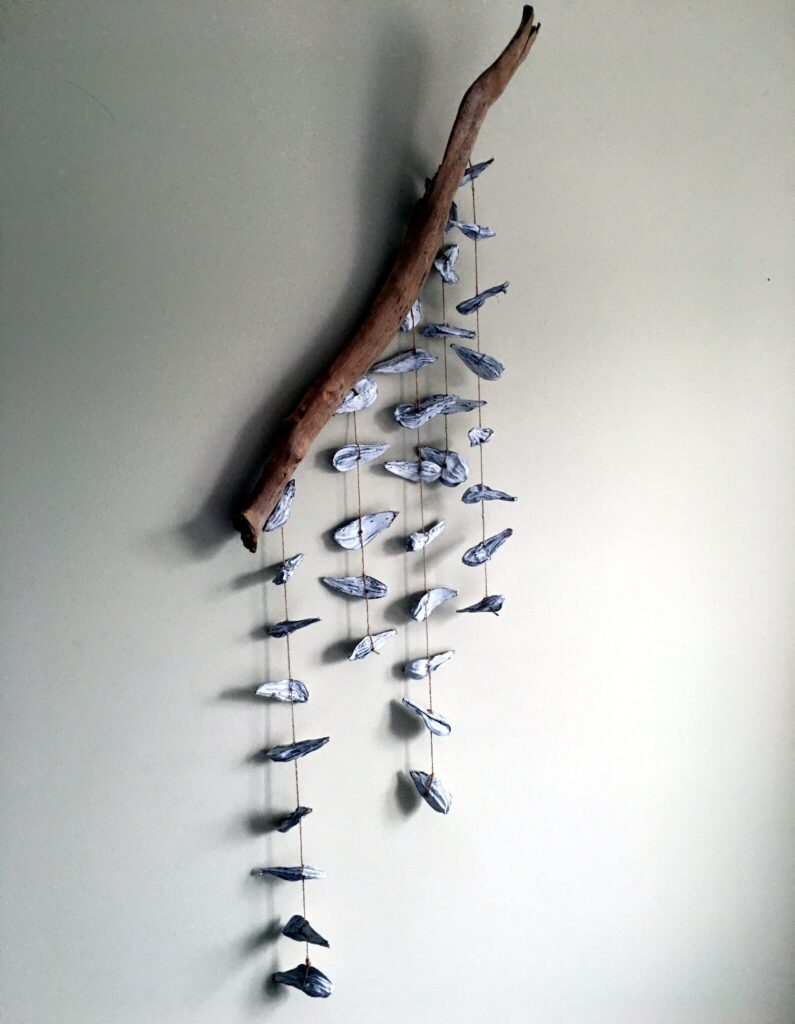
This piece of driftwood came home with me from P.E.I. I knew I would eventually find something interesting to do with it. It turned out that while I was thrifting one day I found a bag of hanging wooden whitewashed shells and knew they had to come home with me.
I had an idea to cut the strings of shells into similar lengths, attach them to the back of the driftwood and then hang the driftwood for a neat, beachy look.
The driftwood was supposed to hang horizontally so that it looked like a wall hanging, but when I actually hung the piece, it naturally hung on an angle and I loved it.
Sometimes the best laid plans have room for improvement.
I hope these tips and ideas have inspired you to look at art in your home differently.
