It’s not unusual to read about staging tips and advice from the perspective of a real estate agent; how they use staging as a way to showcase and market their listing to its best advantage and gain top dollar for their client.
I thought it would be interesting to share a different perspective with you — my point of view as a stager, along with some input from my client, who in this case was my son!
My son, Chris, purchased his first home in 2018, excited to finally get into the housing market. While he enjoyed living there, he decided early this year that it was time to sell to capitalize on the upswing in the Ottawa market.
He asked me if I could stage his home and, of course, I quickly agreed. This was going to be fun!
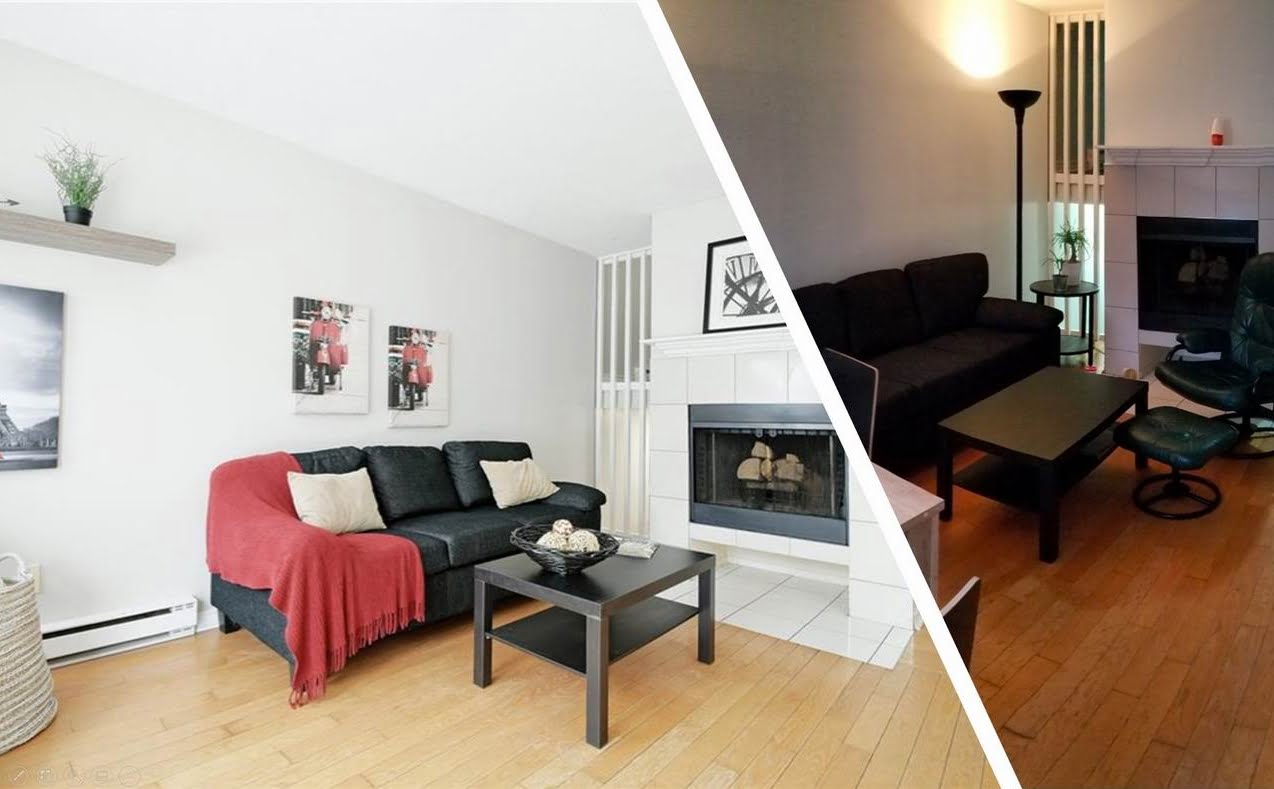
First, as with any home, he needed to declutter and clean. This is a necessary step in the process of staging your home. Once that was done, Chris looked over the living room and wished me luck.
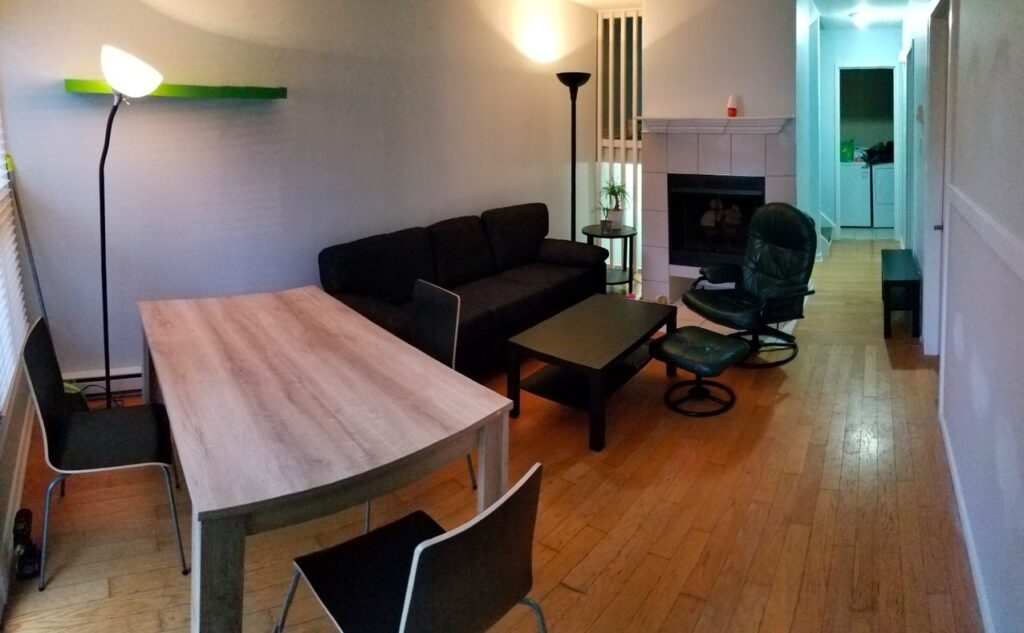
He couldn’t figure out how I was going to make the space look amazing and not like a young, single guy’s place. Of course, he knew that I staged homes but he had no idea what that meant. He was about to find out.

Staging day arrived with a sea of cushions, throws, artwork and accessories — everything I needed to really create a fabulous space that buyers would love.
When staging, the goal is to accentuate your home’s positive features, with furniture and accessory placement being key. Chris’s home had some unique features that I wanted to showcase: a large picture window, a fireplace and an open-concept space.
The transformation began.
Artwork was hung, pillows were primped, and things were beginning to take shape. It’s amazing how quickly I can transform a space.
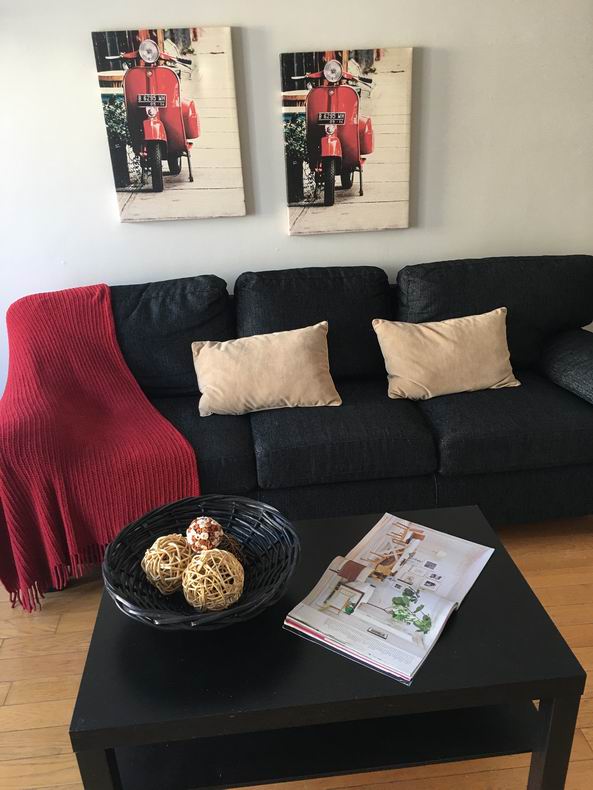
I used the artwork over the couch for inspiration and pulled out colours for throws and cushions, really tying everything together. This is a tip I love to share with clients.
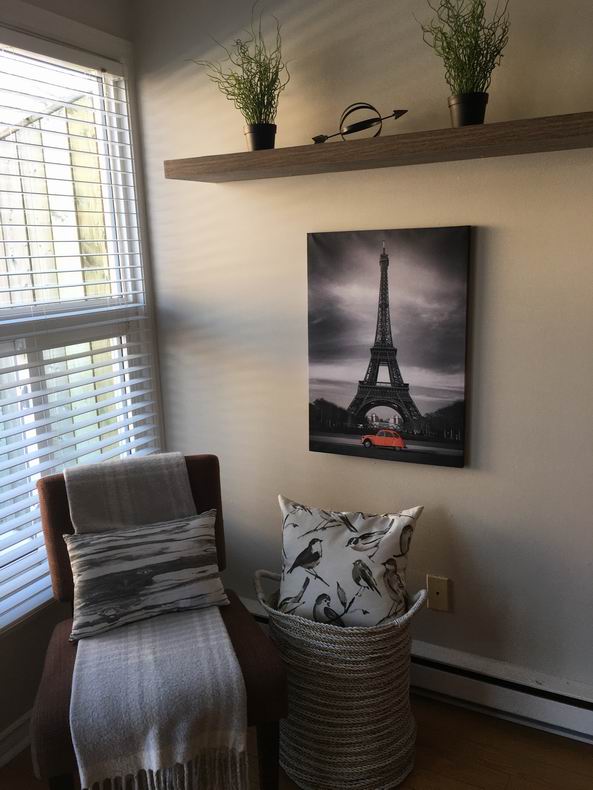
Another one of my favourite things to do when staging is to create small vignettes, like the one below. This corner of the living room was empty and I decided to create a small seating area nestled under the floating shelves. This vignette really adds to the look and feel of the entire space.
I think my son expected the process to be much longer than it was. He had a look of disbelief that quickly turned into amazement as I worked my magic. Once the living room was transformed he was truly shocked at how good it looked.
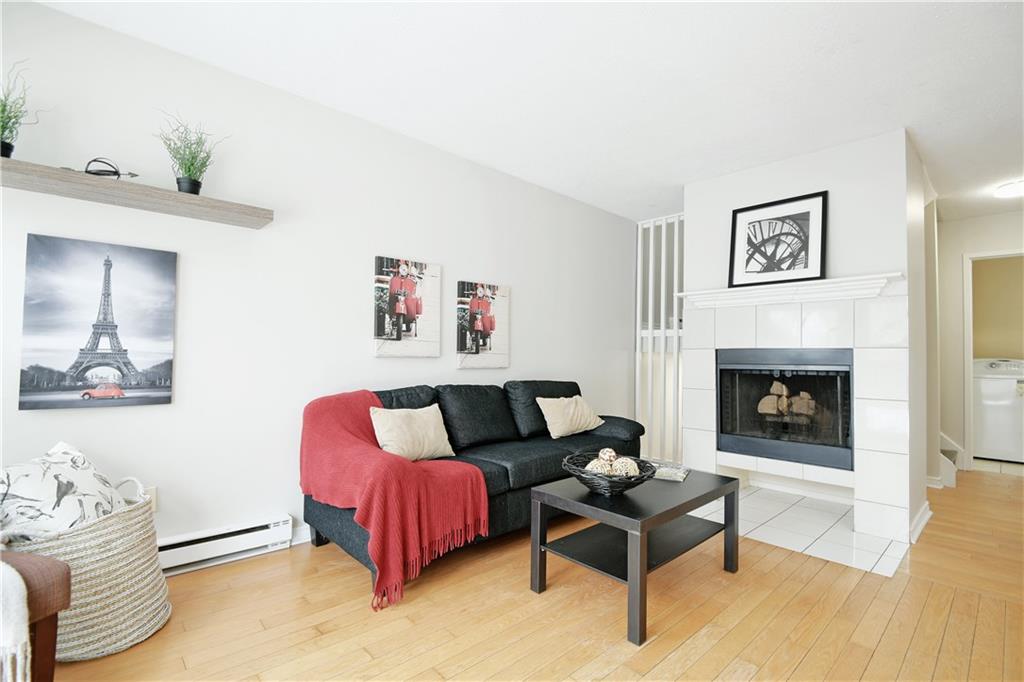
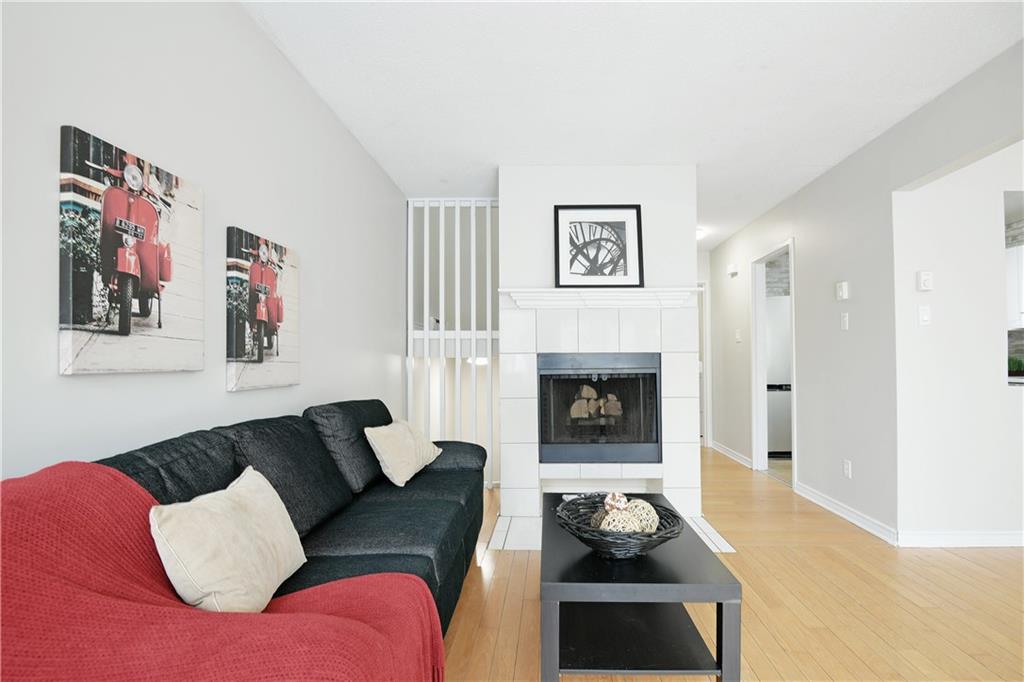
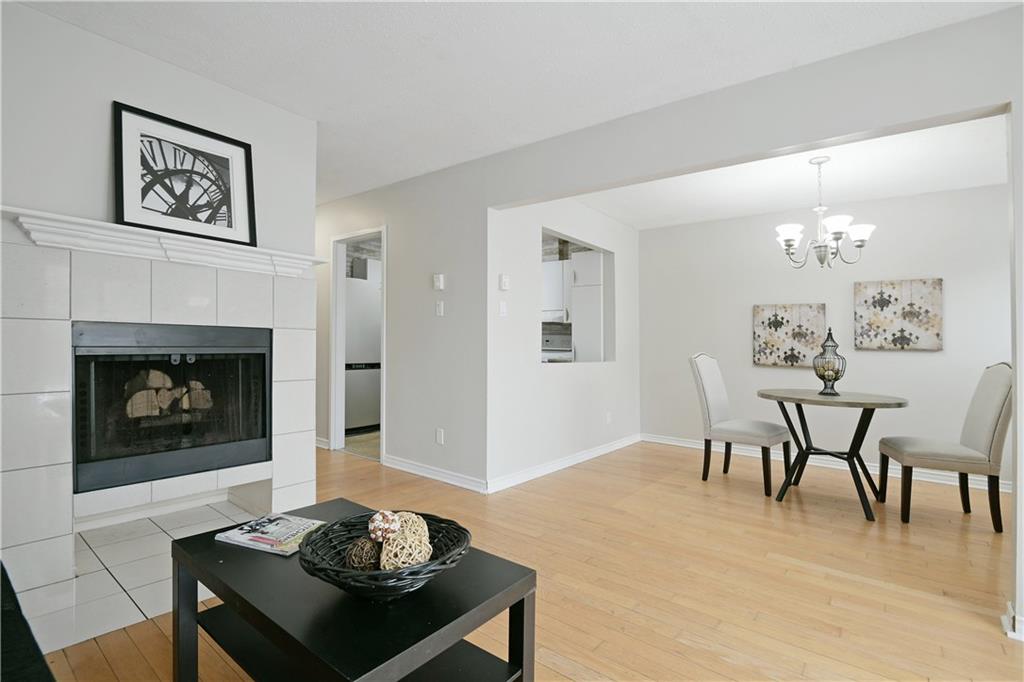
Then we moved on to the kitchen.
As a space, the kitchen was compact and ho-hum, nothing special. But buyers covet kitchens — it’s one of the most desired spaces and can add to your selling price.
So, we had to really bring this kitchen up a notch, but with a small budget ($40) and a tight time frame. As you can see, there was no backsplash and the kitchen was boring:
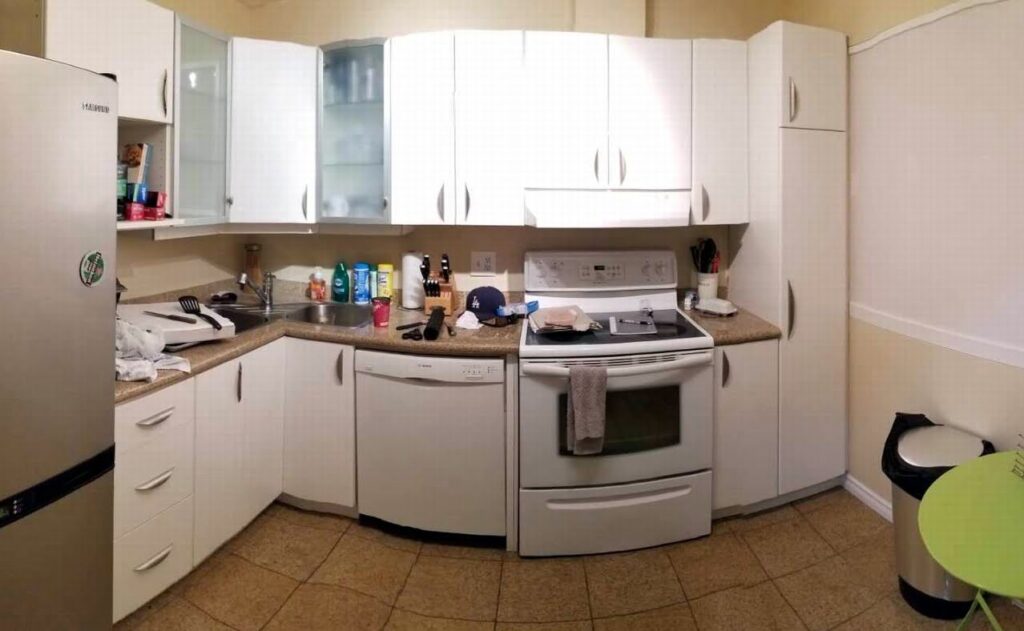
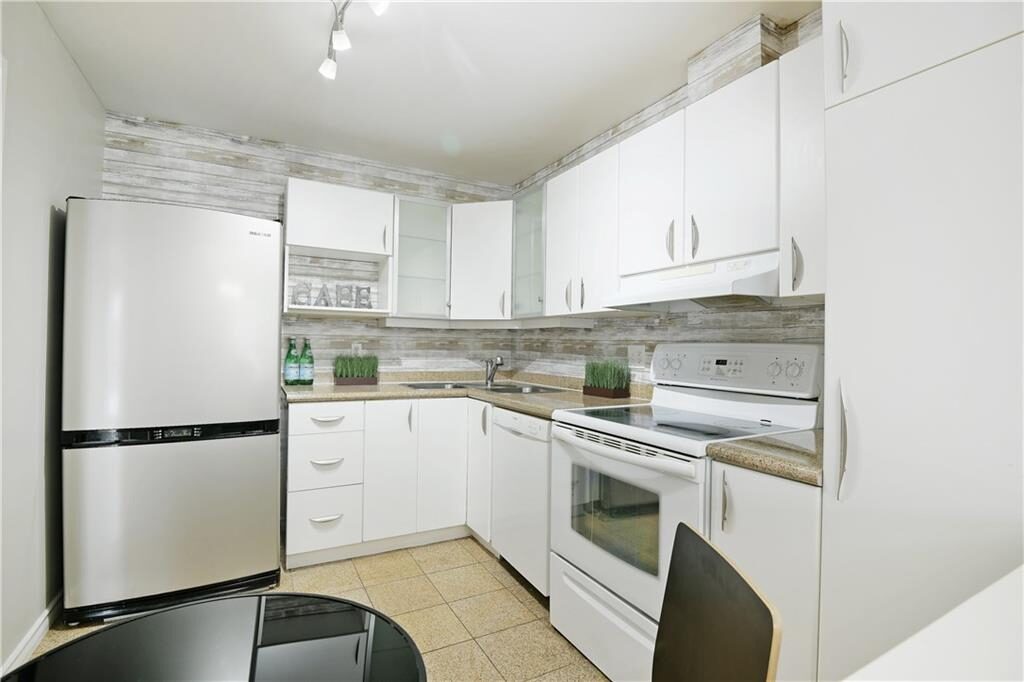
I had just the idea to transform this space — peel & stick wood wallpaper. This wallpaper is so easy to use, cost effective and right on trend. It would make for an excellent backsplash and an easy, unique update to this kitchen.
It took us about an hour to install and what a difference!
Last thing to do in the kitchen was to stage the counters. We removed everything on the counters and on top of the cupboards.
I then added some greenery, well-placed accessories, a small bistro table with chairs and art to complete the space and turn it into a kitchen a buyer would be interested in.
They were quick, simple changes that had a big impact.
My son now has a new appreciation for his mom’s “work” and is so thankful that it helped transform and sell his home — for well over the list price. And I was treated to a wonderful dinner with a bottle of champagne to celebrate!

I love helping homeowners transform their spaces — be it for staging to sell or simply so they can enjoy their home. The tips I have shared here can easily be used to help you make changes in your own home.
