I once spoke to a homeowner in the middle of a major kitchen renovation, and he happened to mention the price of his new solid-surface countertop. “Solid surface” means synthetic materials such as Corian, Avonite, Meganite and others.
Until that moment I’d never seriously considered the possibility that someone might spend as much on a food preparation surface as I did to buy my good, used four-wheel-drive pick-up truck. But there’s at least one person who did.
And as great as his countertop looks, I can’t help but wonder about value for the dollar. This is especially true when I think of the value you can enjoy from a concrete countertop.
Concrete countertop basics
The real trick is finding a beautiful, durable, rock-solid countertop at a price that costs less than its weight in platinum. And that’s why I like the do-it-yourself concrete countertop option.
Although the process of building one is not difficult to understand, there are key points you need to recognize first for success. I don’t have enough space here to go into full construction details, but I will tell you why you might consider learning this technique and applying it to your life, and direct you to a great book I found on the subject.

Concrete is actually a poor name for the material involved because it’s not what most people think. Traditional concrete is a mixture of sand, crushed stone and Portland cement, with the crushed stone being added as low-cost filler. “Concrete” for countertops includes Portland cement to cause the mixture to harden, but the other stuff (the aggregate) could be quite different.
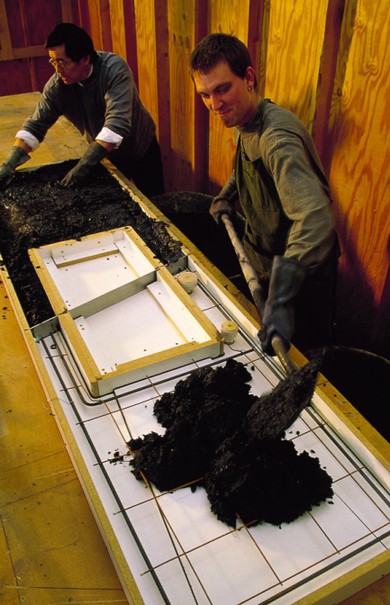
The mix you see above, for instance, is much darker than regular concrete, and much drier. It’s also important to keep any stone added to the mix small. Large crushed stone can leave air gaps around the perimeter, which of course is not what you want in any finished countertop.
The process begins with building a wooden form that’s the length and width of the countertop you want, and with openings for a sink and anything else you want up there. Pouring the concrete mixture into the form comes next, followed by levelling and polishing.
These finishing operations are always done with a power tool, and the most common type is a hand-held grinder, beginning with an abrasive diamond wheel to work down the surface. This same grinder is used with finer abrasives to ultimately polish to a glass-like finish.

Masonry mixture
Mixtures used to make concrete countertops are actually more like mortar than concrete. Mortar includes cement and sand, with no crushed stone, and this is what works best for concrete countertops, too.
Since nobody ever talks about a mortar countertop, I won’t either, even though that’s what many of them are. Whatever you call it, just remember to make your mixture dry enough to hold together in a pile. Any wetter and your countertop will be unnecessarily messy and won’t cure to full strength.
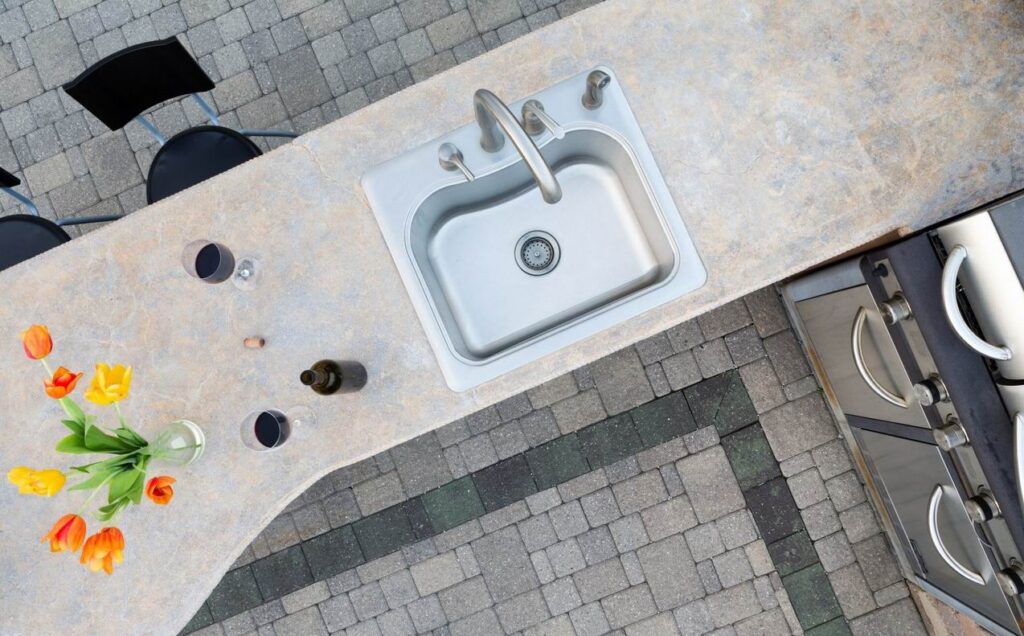
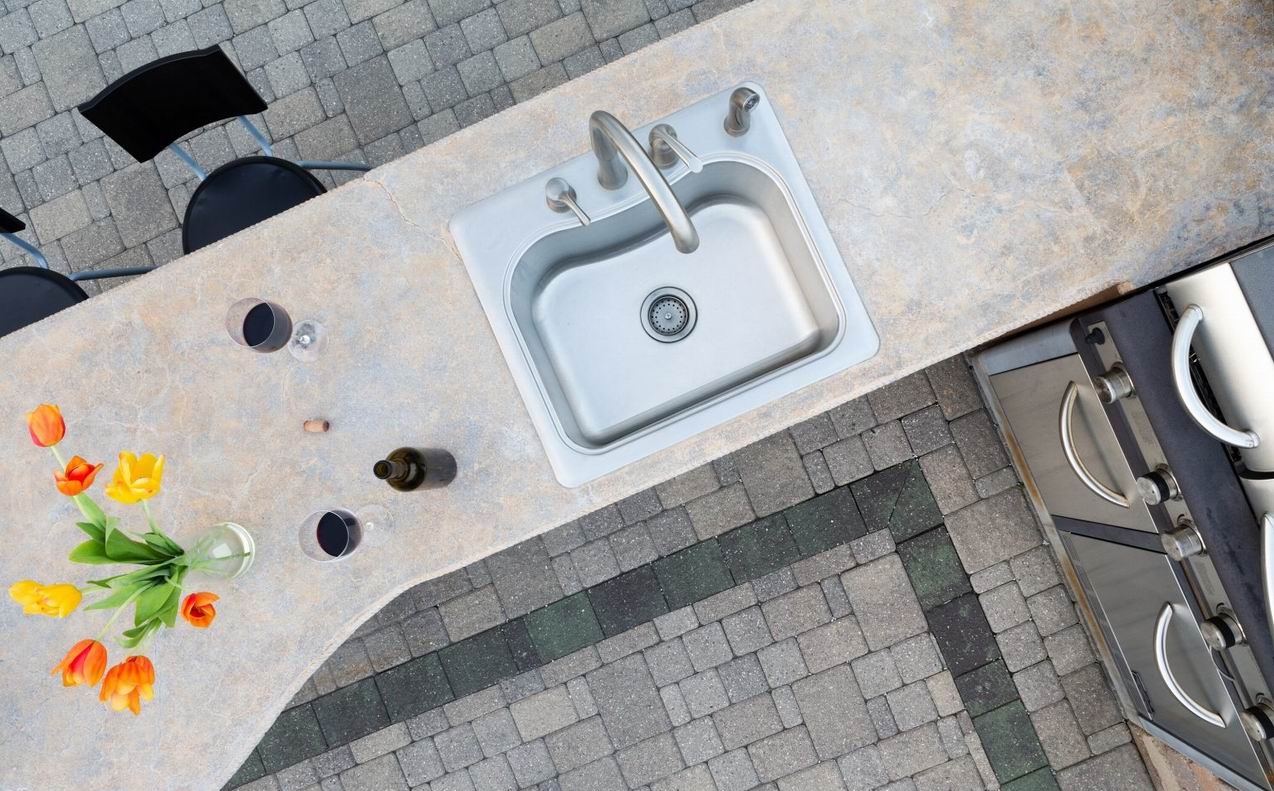
Perhaps the most challenging part of the concrete countertop equation is appearance. Who wants a countertop that looks like a sidewalk? No one, of course. And avoiding that fate requires two things: the addition of colour to the surface; and treatment of that surface to add depth to the colour and to protect against stains.
Colouring options
You’ve got a couple of concrete colouring options to consider:
Powdered and liquid pigment: The most common approach employs powdered pigments added to the water you’ll use to make the mortar. Pigments used in masonry and concrete have become much more common with the growing popularity of stamped, decorative concrete walkways.
Chemical treatments: This involves adding a chemically reactive liquid to the surface after it’s fully cured. This liquid isn’t a dye, but a compound that reacts with minerals in the concrete. The result is a colour that’s slightly mottled and much more like natural stone than surfaces coloured by dye. Kemiko is one leader in this field.
The esthetics of concrete countertop colouring and sealing are important enough that you should consider acquiring experience before tackling the real thing. Test pads allow you to proceed with the confidence of knowing exactly what your finished countertop will look like using a particular esthetic strategy. This is especially true if you’re a beginner.
Build three or four square, wooden test forms that are 12 inches wide and two inches deep. Fill them with mortar mix to test your colour strategy. Be sure to apply both colour and sealer to these test panels, since full surface treatment is necessary to create a realistic impression of what you’re in for.
Find out more
If you’re considering making your own concrete countertop, you should definitely take a look at a book called Concrete Countertops by Fu-Tung Cheng (Taunton Press). It’s a compilation of the wisdom gained during more than 15 years in the craft. Besides the technical tips offered, you’ll be amazed at the stunning and inspiring countertops that can be made with concrete.


