 Small drywall repairs — a dent in the wall, a hole in the ceiling — are not the kind of thing to entice a professional drywaller because they are not worth his or her time.
Fortunately, it is a DIY project that’s not expensive and that helps keep your home looking good.
It takes a bit of patience and practice to get it right, but you’ll be tickled with the results when you see them.
Small cracks, dents and holes
What you’ll need for small drywall repairs (all available at hardware and building material stores):
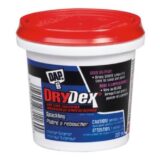
- A small container of spackling (like drywall joint compound but denser)
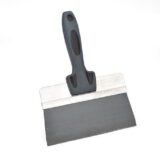
- A 6- or 8-inch putty knife
- #100 sandpaper
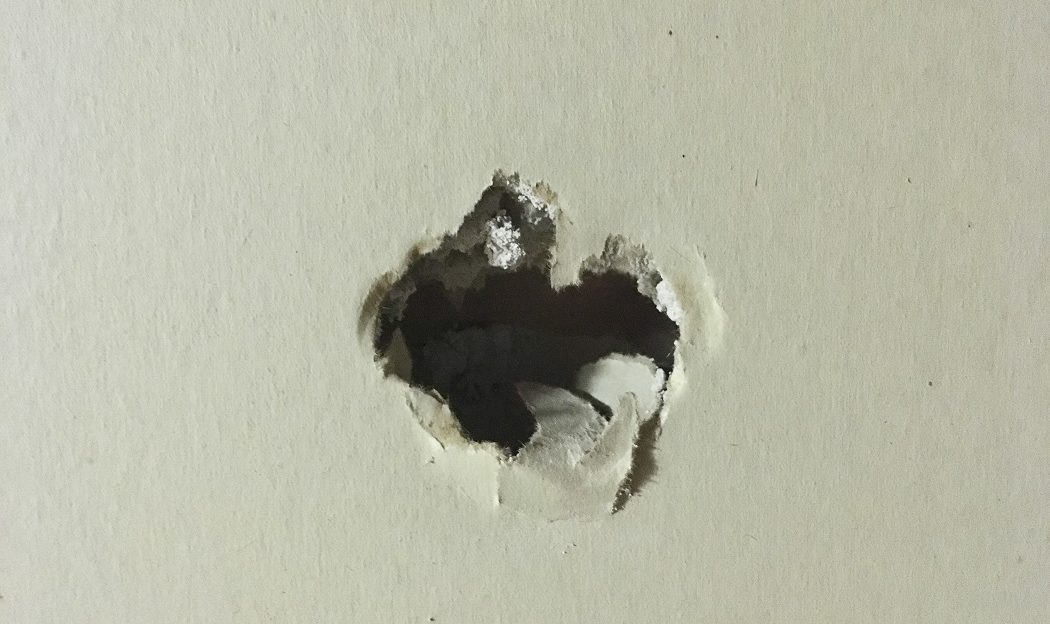
Use a utility knife to cut away any loose or damaged drywall. It’s important that the edges of the damaged area are smooth.
Using your putty knife, fill the damaged area with the  spackling. Spread the paste over the edges of the damaged section and just slightly higher than the surrounding, undamaged area. If the hole is deep, you’ll need to layer in the paste, allowing it to dry completely before adding more.
Once the paste is dry, sand it lightly with a circular motion so the repaired area is even with the rest of the wall or ceiling. Use your fingers to detect any high areas in the repair and sand until they are even with the surrounding areas (a repaired area can look perfectly flat before it’s painted, but its imperfections will show up when light hits the painted surface).
Wipe off the dust with a damp cloth and you’re ready to paint.
Large holes
Bigger holes typically require a patch.
What you’ll need (all materials available at hardware and building material stores):
- A piece of drywall slightly bigger than the hole
- A small container of drywall joint compound or spackling
- Self-adhesive joint tape
- A drywall knife
- A drill with a Phillips bit
- A few drywall screws
- 1/2 inch strips of furring or plywood
- #100 sandpaper
You might be able to buy a small piece of wallboard to make the patch or keep your eyes open for scrap when driving by construction sites.
Cut the hole into a square shape (a utility knife is awkward but it works) and cut the patch to fit the hole. When cutting the patch, score the back; snap the piece to be removed, leaving a hinge in the front; and then slice through the hinge.
The video below will show you how to install the patch. It often involves creating a wooden surface behind the hole to mount the patch, which sounds more complicated than it is.

A drywall knife
Once the patch is in place, apply self-adhesive joint tape over the gaps and then use the drywall knife to apply and smooth the spackling. You may need to sand the patch and add a thin layer of paste once or twice to get it absolutely smooth.
If you have a long crack in a ceiling or wall, use the same self-adhesive joint tape followed by paste to cover it.
Minor damage to the corners of walls can be repaired by digging out the loose paste and replacing it with new spackling. If the metal corner bead has been bent, you’ll need to replace that section as described here.
This video will help you through your drywall repair:
Painting
Once you have a smooth, clean surface, you’re ready to repaint.
The key to successful repainting is proper preparation, including the use of primer over repaired areas and feathering of the paint into the surrounding area unless you plan to repaint the whole wall.
More ideas on preparing to paint here.
Got a maintenance task you’re not sure how to do?
Drop us a line at info@allthingshome.ca or message us through Facebook.


