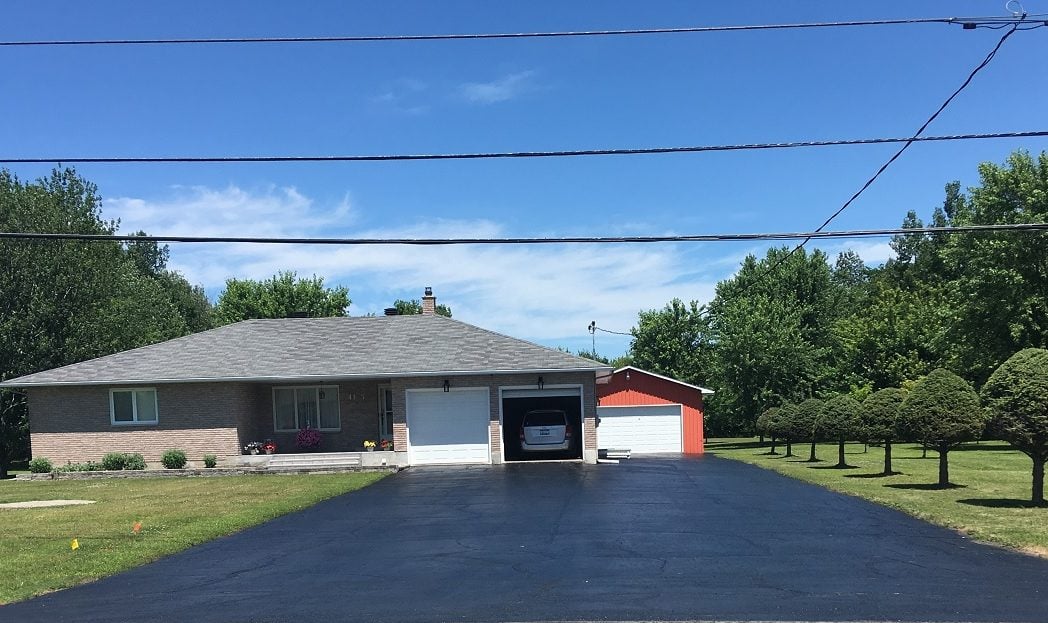
 Sleek, black and glistening, a fresh coat of driveway sealer enhances curb appeal by giving your home a clean, cared-for look. What’s more , you can apply driveway sealer yourself with basic equipment, a bit of elbow grease and a modicum of DIY talent.
One thing to ask yourself first: do you really need to do this? An article in The Washington Post says an asphalt driveway will last for years without resealing if the gravel underneath was installed properly. If it wasn’t installed correctly, no amount of resealing will stop the driveway from cracking and crumbling. The same article says that sealers break down quickly, throwing you into an endless, and expensive, cycle of resealing.
Other sources say resealing is a smart move. Among their reasons: it reduces damage from water penetration, freeze/thaw cycles and chemicals.

If you do decide to reseal your driveway, depending on its size you should count on spending $60-$150 on sealer plus the cleaner, crack filler and other materials.
Driveway sealer must-haves
- Work boots, gloves & duct tape
- Disposable brush
- Plastic sheeting
- A stiff broom & pressure washer
- Driveway cleaner
- Asphalt crack filler
- Driveway squeegee or roller
- Drive sealer
Here are your basic steps:
- Set aside a couple of days for a thorough job, including repairing cracks.
- Do the work when the forecast calls for three or four days of dry weather and a temperature of at least 10 C. Avoid uber-hot days because they can dry the sealer too quickly.
- Use the duct tape along the edge of your driveway to protect surrounding material like pavers from splashed sealer. Cover your garage door with the plastic sheeting for the same reason.
- Prepare the surface by cleaning it thoroughly with a stiff
 broom, driveway cleaner and a pressure washer; use an oil spot primer to ensure good adhesion on those spots; and fill in the cracks with driveway crack filler.
 - Stir the sealer thoroughly. A mixing tool attached to a drill is your best bet because it blends the thicker material at the bottom of the pail with the rest of the sealer.
- Pour the sealer a bit at a time, starting at the top of the driveway and working down toward the street. Use the squeegee or roller to distribute the sealer evenly.
- When you’re finished, stand the pails across the end of your driveway until the sealer has dried completely (manufacturers often say you can drive on the finished surface within a few hours, but why not give it a day or two to really harden?).
This video walks you through a basic resealing project:

Got a maintenance task you’re not sure how to do?
Drop us a line at info@allthingshome.ca or message us through Facebook.